Starting seeds indoors is like giving your plants a head start in life. It’s a no-brainer solution for gardeners who want to take complete control of their growing season, whether you’re aiming to grow vibrant flowers, fresh vegetables, or flavorful herbs. Think of it as creating a cosy nursery for your plants before they face the real world of outdoor gardening.Why should you bother starting seeds indoors? For one, it allows you to extend your growing season significantly. You’ll be able to get a jump on spring planting, ensuring your seedlings are strong and healthy by the time the weather warms up. Not only that, but it’s a cost-effective way to grow a wide variety of plants you might not find at your local nursery. Plus, you can control every aspect of the growing environment—light, temperature, moisture—to give your seeds the best possible start.
In this guide, we’ll break down everything you need to know about starting seeds indoors, even if you’ve never tried it. From essential tools to troubleshooting tips, this no-brainer guide will have you growing like a pro in no time!
What Does It Mean to Start Seeds Indoors?
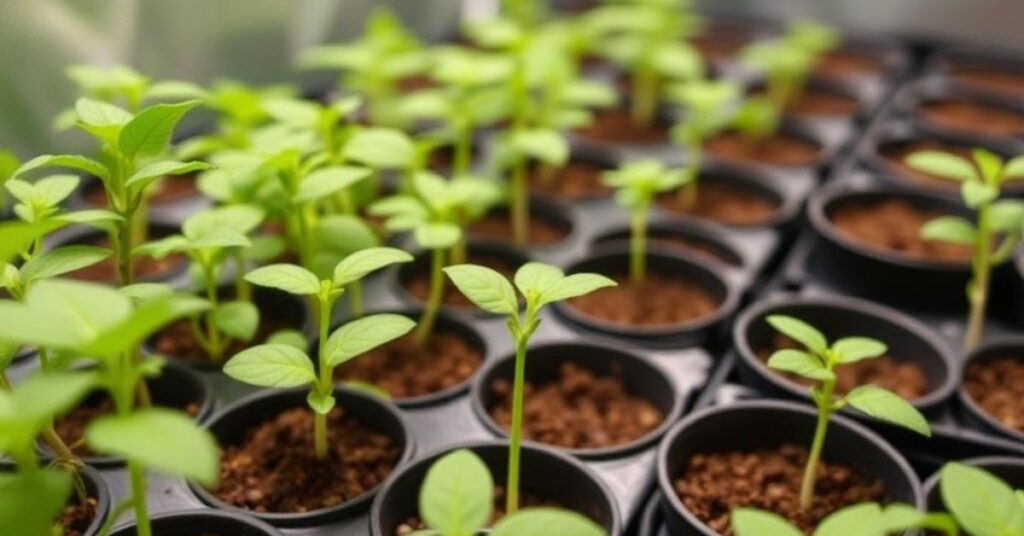
Starting seeds indoors is planting seeds in a controlled environment inside your home or another indoor space before transferring the young plants to your outdoor garden. It’s like creating a mini nursery for your plants where you can nurture them through their most delicate early stages of growth. Instead of waiting for warmer weather, you’re fast-forwarding the growing process in a controlled setup.
This method involves planting seeds in trays, pots, or containers filled with a seed-starting mix. These containers are kept indoors under ideal conditions—light, tomatoes splitting warmth, and moisture—until the seedlings are strong enough to handle outdoor conditions. Once the outdoor climate is favourable andYou can move the seedlings into your garden now that they’re ready.You may grow plants that might not do well in the environment of your area by starting seeds indoors, which also offers you a head start on the growing season.
Why Start Seeds Indoors?
sow seeds indoors has plenty of benefits, making it a favourite method among gardeners. First, it gives you a head start on the growing season, allowing your plants to mature earlier than they would if directly sown outdoors. This is especially helpful in regions with short growing seasons.Additionally, you have more control over growing variables like light when you start seeds indoors. temperature, and moisture. You can create the perfect environment to ensure vigorous, healthy seedlings. It’s also cost-effective—you can grow various plants from seeds at a fraction of the cost of buying nursery-grown plants.
Lastly, it opens up possibilities by letting you grow unique or heirloom varieties that aren’t commonly available at garden centres. indoor seedling starter is a simple way to maximize your garden’s potential!
Essential Supplies for Starting Seeds Indoors
To successfully start seeds indoors, you’ll need a few essential supplies to create the ideal environment for your plants to thrive. Here’s a breakdown of the must-haves:
1. Seeds
The most important item is to choose seeds suited to your gardening zone and personal preferences. Look for quality seeds from trusted suppliers, and consider trying heirloom or unique varieties.
2. Containers or Seed Trays
Seed trays, pots, or containers with drainage holes are essential for holding the potting mix. strawberry breeds Repurpose items like egg cartons or yoghurt cups as budget-friendly alternatives.
3. Seed-Starting Mix
Avoid garden soil; it’s too heavy and may carry diseases. A seed-starting mix is lightweight, sterile, and specifically designed to support healthy Germination.
4. Light Source
Seeds need light to grow, especially after sprouting. If you don’t have a sunny windowsill, invest in grow lights to provide seedlings with consistent light.
5. Heat Mat
A heat mat can maintain the ideal temperature, typically between 65°F and 75°F, for plant seeds how to that require warmth to germinate.
6. Spray Bottle or Watering Can
Use a gentle spray bottle or watering can to moisten the soil without drowning the seeds. Overwatering can harm seedlings.
7. Plant Labels
Label each container with the plant’s name and variety to keep track of your seedlings. This is especially useful when starting multiple types of seeds.
8. Humidity Dome or Plastic Cover
A transparent cover over your seed trays helps retain moisture and warmth, creating a mini greenhouse effect for faster Germination.
9. Fertilizer (Optional)
Once seedlings grow their first true leaves, a diluted liquid fertilizer can support healthy development.
These supplies will set you up for a successful seed-starting journey. Quick and Easy Ways to Ripen With the right tools, growing vigorous, healthy plants indoors becomes much more manageable!
How to Grow from Seeds
To grow from growing seeds, select seeds suited to your climate and gardening goals. Use clean containers with drainage holes, and fill them with seed-starting mix. Plant seeds at the recommended depth, water gently, and cover the containers to retain moisture and warmth. Place them in a warm spot or use a heat mat if needed. Ensure they receive adequate light from a sunny windowsill or grow lights. Keep the soil consistently moist, thin out weak seedlings, and transplant them outdoors once hardened off. With patience and care, you’ll have thriving plants!
Step-by-Step Process to Start Seeds Indoors
starting seeds indoors is a simple yet transformative way to kick off your gardening season. It gives you control over the growing environment and allows your plants to flourish before exposure to outdoor conditions. Here’s a detailed, step-by-step guide to help you grow healthy seedlings:
1. Choose the Right Seeds
Begin by selecting the seeds you want to grow. Consider your climate, the growing season, and your gardening goals. Vegetables like tomatoes, peppers, and herbs are popular, sow a seed while flowers like marigolds and petunias are great for adding colour. Read the seed packet carefully for germination requirements, planting depth, and recommended start time.
2. Gather Your Supplies
Prepare seed trays, pots, or repurposed containers like egg cartons. Ensure each container has drainage holes to prevent water pooling at the bottom. You’ll also need a seed-starting mix, grow lights (or a bright windowsill), a spray bottle, plant labels, and a heat mat for seeds that need extra warmth.
3. Prepare Your Containers
Suppose you’re reusing old containers. Clean and disinfect them. This prevents diseases or pests from harming your seedlings. Fill the containers with seed-starting mix, leaving a small gap at the top. What is Damping Avoid compacting the soil too tightly—it should be light and airy for proper root development.
4. Plant the Seeds
Refer to the growing plants from seeds packet for planting depth and spacing instructions. Generally, plant seeds at a depth of about two to three times their size. Tiny seeds may only need a light sprinkle of soil on top. Space how to plant a seed evenly to give each one room to grow.
5. Water the Soil
Use a fine-spouted watering can or a spray bottle to gently hydrate the soil. The soil need to be moist but not drenched. Damping-off disease and other fungal issues brought on by overwatering can damage your seedlings before they even germinate.
6. Cover for Humidity
Cover your seed trays or containers with a clear plastic dome, plastic wrap, or a lid to create a mini greenhouse effect. This helps retain moisture and warmth, which are critical for Germination. Make sure the cover has some ventilation to prevent mould growth.
7. Provide the Right Temperature
Place your covered containers in a warm location. Most seeds germinate well in temperatures between 65°F and 75°F. Use a heat mat to maintain consistent temperatures for seeds that require extra warmth, such as peppers.
8. Monitor Germination
Check your containers daily to monitor progress. Germination times vary by plant, so be patient—it can take anywhere from a few days to several weeks. Once sprouts appear, remove the cover to allow airflow and prevent mould.
9. Provide Adequate Light
After Germination, seedlings need plenty of light to grow strong and healthy. Place them in a sunny south-facing window or under grow lights. Seedlings need 12-16 hours of light daily to prevent them from becoming leggy. Position grow lights about 2-4 inches above the seedlings and adjust as they grow.
10. Thin the Seedlings
Once the seedlings develop their first set of true leaves (the second set after the initial sprouting), they must thin them. Snip the weaker seedlings at the soil line to give the stronger ones more space, nutrients, and resources to thrive.
11. Water Consistently
Keep the soil consistently moist but not overly wet. Use a spray bottle or bottom watering technique: Place the container in a water tray and let the soil absorb the water from below. This helps avoid disturbing the delicate roots.
12. Fertilize Seedlings
When seedlings grow their first true leaves, you can begin feeding them with a diluted liquid fertilizer. Use a gentle mix at half strength every 1-2 weeks to provide the nutrients they need for strong growth. Avoid over-fertilizing, as it can damage young plants.
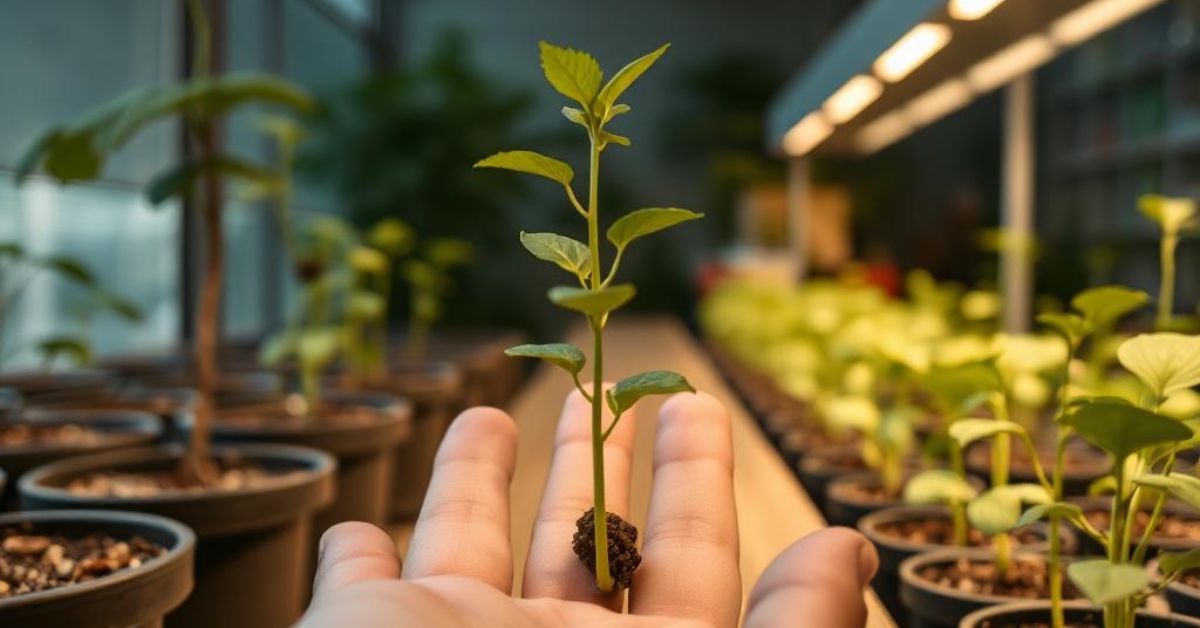
13. Harden Off the Seedlings
Before moving your seedlings outdoors, they need to adjust to outdoor conditions. This process, called hardening off, helps them acclimate to sunlight, wind, and temperature fluctuations. Start by placing the seedlings outside for an hour or two in a sheltered, shady spot, then gradually increase their time outdoors and exposure to direct sunlight over 7-10 days.
14. Transplant to the Garden
It’s time to move the seedlings into your garden or bigger pots after they have hardened off and the chance of frost has passed. After digging a hole that is just a little bit bigger than the root ball, How to Grow Garlic carefully take the seedling out of its container and put it in the hole.Cover with soil and water thoroughly, and watch your plants thrive in their new home.
Starting seeds indoors is a rewarding way to jumpstart your garden and ensure healthy, productive plants. By following these steps, you’ll set yourself up for gardening success and enjoy a vibrant, flourishing garden all season long!
Troubleshooting Common Issues
While starting seeds indoors is a rewarding experience, it’s not always smooth sailing. Gardeners face a few common issues when growing seedlings indoors, but the good news is that most of them are easy to solve with a bit of attention and care. Here are some common problems and how to tackle them:
1. Leggy Seedlings
Leggy seedlings are often a sign of insufficient light. When seedlings stretch toward the light, they become tall, thin, and weak, making them more susceptible to falling over or disease. To prevent this, ensure your seedlings get enough light—at least 12-16 hours daily. If using grow lights, keep them just a few inches above the seedlings and adjust as they grow. If you’re using a windowsill, ensure it’s a south-facing one with plenty of sunlight.
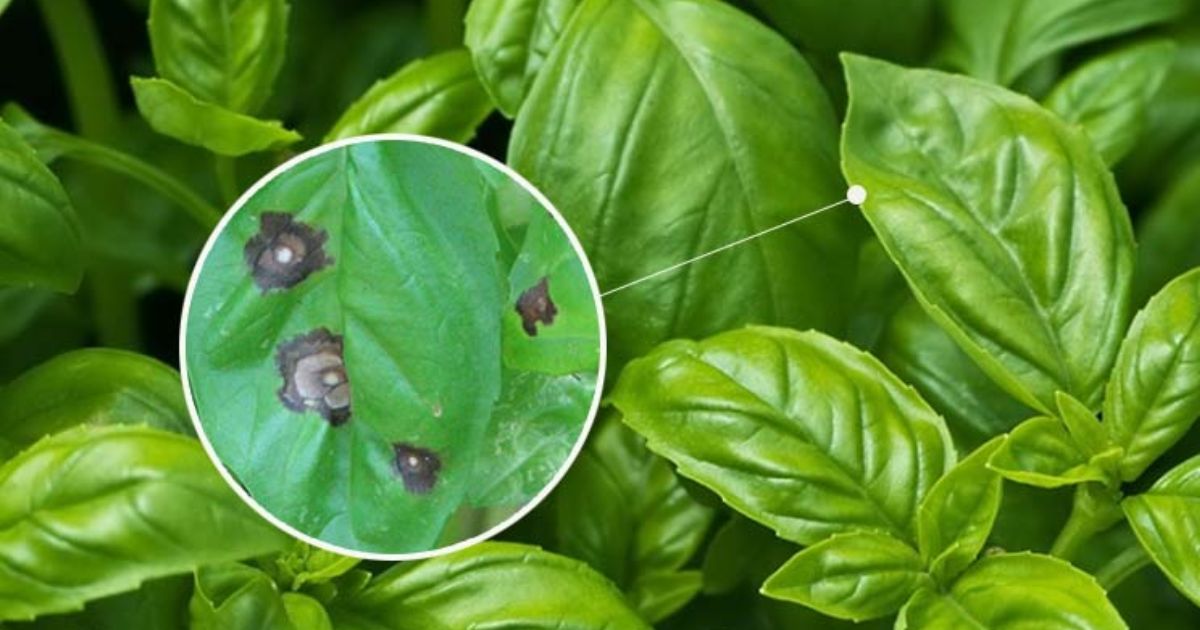
2. Dampening-Off Disease
Damping-off is a fungal disease that causes seedlings to wilt and collapse. It’s typically caused by overwatering or poor air circulation. To prevent this, water seedlings from the bottom rather than from above and avoid keeping them too wet. Ensure good air circulation around your seedlings by removing plastic covers once Germination has occurred and thinning them as needed. If damping-off strikes, discard infected plants to prevent the spread to others.
3. Overwatering
Overwatering is one of the most common mistakes when starting seeds indoors. Too much water can suffocate the roots and promote root rot. The key to healthy seedlings is keeping the soil moist, not soggy. Ensure containers have good drainage, and use a spray bottle or gentle watering method to avoid disturbing the seeds or creating waterlogged conditions. Always check that the top inch of soil is dry before watering again.
4. Seedlings Not Germinating
If your seeds aren’t germinating, it could bebecause of a number of variables, including temperature, moisture, or seed quality. Double-check that you’re using the correct seed-starting mix and that the temperature is appropriate for your growing seeds. Some seeds need a heat mat to germinate correctly, while others require light exposure. Be sure to follow the specific guidelines on the seed packet.
By taking care of these problems early on, you can make sure that your seedlings thrive and make a smooth transition to the outdoors. Troubleshooting common issues is part of the learning process, and each challenge will make you a more experienced gardener in the long run!
How Often do Water Seeds Indoors
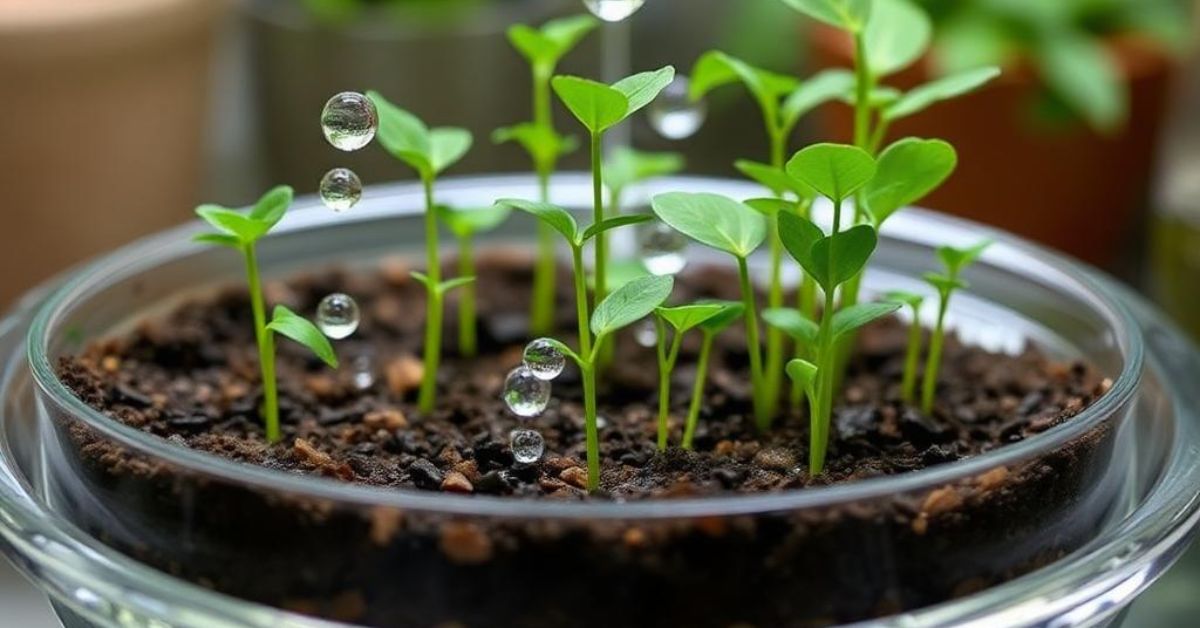
Watering indoor seeds depends on factors like seed type, soil, and environment. Generally, keep the soil consistently moist but not waterlogged. After planting, gently mist the soil to avoid displacing seeds. Check daily, as seeds need even moisture to germinate.To avoid overwatering, use a watering can or spray bottle with a fine spout. Add water when the topsoil starts to dry out. To promote germination, keep the soil from drying up entirely. Consider using a humidity dome to maintain moisture levels, but ventilate periodically to prevent mould. Proper hydration ensures healthy, consistent seed growth indoors.
Benefits of Starting Seeds Indoors for Your Garden
Starting seeds indoors offers several advantages that can Boost your garden’s productivity and success. Extending your growth season is one of the biggest advantages. Giving your plants a head start by starting seeds indoors weeks before the last frost ensures they have have more time to grow and produce once transplanted outside. This primarily benefits plants with a long growing season, like tomatoes and peppers.Another advantage is the control you have over the growing environment. Indoors, you can regulate temperature, light, and moisture, giving your seeds the best conditions for Germination and early growth. This increases the likelihood of vigorous, healthy seedlings thriving once they’re in your garden.
Starting seeds indoors also allows for a wider variety of plants. You can grow unique, heirloom, or hard-to-find varieties that may not be available at local garden centres. It’s a cost-effective way to develop many plants, as seeds are typically much cheaper than fully grown plants.Starting seeds indoors is a smart way to maximize your garden’s potential. It will give you healthier plants and a more bountiful harvest.
Conclusion
Starting seeds indoors is a simple yet highly effective way to jumpstart your gardening season. It allows gardeners to take control of growing conditions, giving plants the ideal environment to thrive long before they’re exposed to outdoor elements. It extends the growing season and allows for a wider variety of plants, including unique and heirloom varieties that might not be available locally.By following the step-by-step process, from selecting the right seeds to transplanting seedlings outdoors, you can ensure your plants have a strong and healthy start. Though challenges like leggy seedlings or damping-off disease may arise, most common issues can be easily solved with proper care and attention.
Starting seeds indoors is a cost-effective and rewarding way to grow a beautiful, productive garden. With time, patience, and the right supplies, you can enjoy homegrown vegetables, herbs, and flowers while ensuring the best possible start for your garden. Whether you’re a seasoned gardener or just starting, starting indoor seeds is a valuable technique that opens up new possibilities and enhances your gardening experience.
FAQ
When should I start seeds indoors?
Start seeds indoors 6-8 weeks before your region’s last expected frost date.
Can I reuse seed trays?
Yes, but make sure to clean and disinfect them to prevent disease.
How do I prevent leggy seedlings?
Ensure seedlings get 12-16 hours of light daily and use grow lights if needed.
What is damping-off disease?
Damping-off is a fungal disease that causes seedlings to wilt. It’s caused by overwatering and poor air circulation.
How can I harden off seedlings?
Gradually expose seedlings to outdoor conditions over 7-10 days before transplanting them into the garden.