Gardening in raised beds offers numerous advantages, from better soil drainage to enhanced control over pests. However, soil health is one of the most crucial elements for a thriving garden. Soil solarization in raised beds is a natural and effective method that can significantly improve soil quality by using the sun’s power to eliminate harmful pests, weeds, and pathogens. This eco-friendly technique involves trapping solar heat in the soil under clear plastic and can help create a healthier environment for your plants, ensuring they grow strong and vibrant.
In this article, we’ll explore how soil solarization in raised beds works, its many benefits, and How to use this straightforward but effective method to naturally improve your garden’s soil health. Whether you’re looking to control weeds, reduce soilborne diseases, or create the perfect growing conditions for your plants, soil solarization can be invaluable in your gardening toolkit. Let’s dive into the process and learn how to harness the sun’s energy to cultivate healthier, more productive soil in your raised bed garden.
What is Soil Solarization?
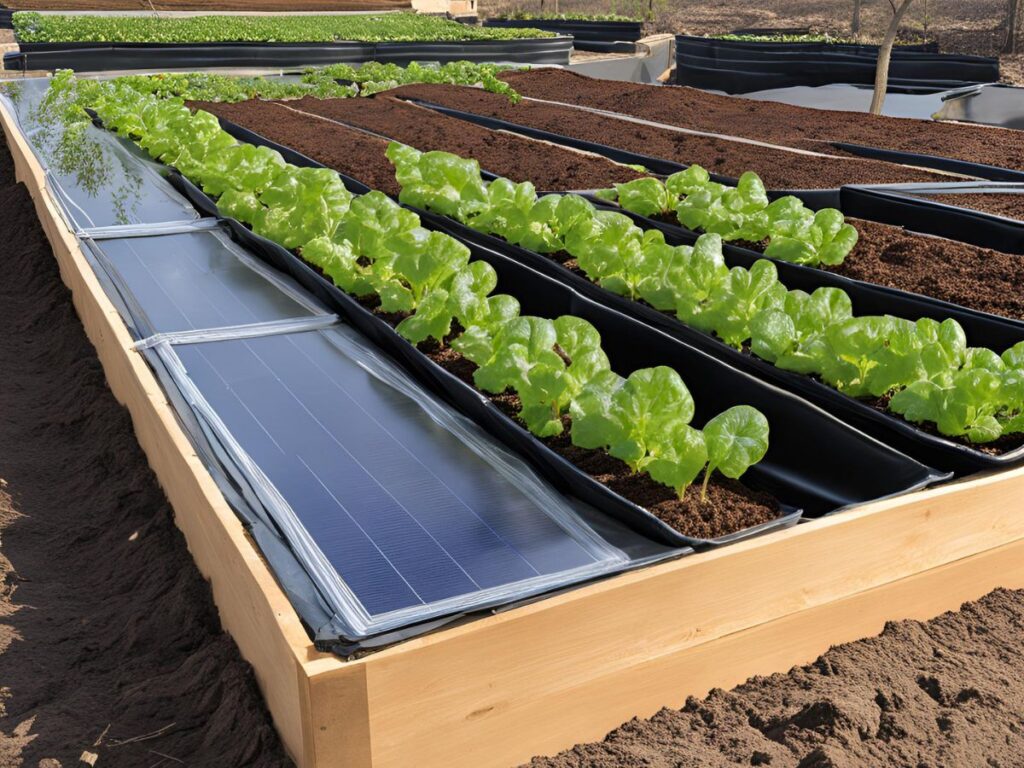
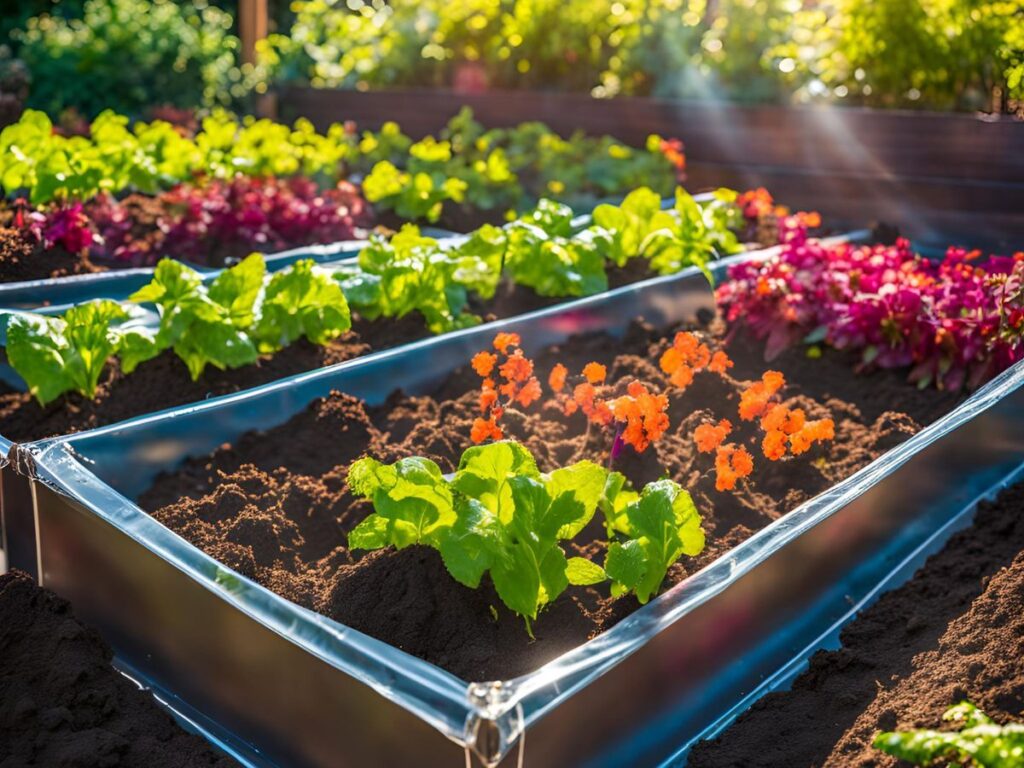
Soil solarization is a natural, non-chemical technique used to improve soil health by harnessing the sun’s power. It involves using clear plastic sheets to trap solar heat and raise the soil temperature to levels that are lethal to many common garden pests, weeds, and soilborne diseases. By creating a “solar oven” effect, this method heats the top few inches of soil to temperatures that can kill harmful organisms while also promoting the breakdown of organic matter, ultimately enriching the soil for healthier plant growth.
The process of black plastic garden bed begins with preparing the soil in your raised bed. The soil is thoroughly watered to ensure it is moist, as damp soil absorbs and retains heat more effectively. Next, transparent plastic sheets—typically 1 to 4 mil thick—are spread over the soil, and the edges are sealed tightly to prevent air escaping. The plastic traps the sun’s heat, gradually increasing the temperature beneath the sheet. Over several weeks (usually 4 to 6), the heat can rise high enough to kill weed seeds, insect larvae, fungi, and bacteria lurking in the soil.
One of the most significant advantages of soil solarization is that it is an eco-friendly, chemical-free alternative to traditional soil treatments. Unlike pesticides and herbicides, which can harm the environment and non-target organisms, solarization relies solely on the sun’s energy. This makes it a sustainable solution for gardeners looking to improve their soil health without resorting to harmful chemicals. Using this natural method, you can foster a healthier, safer garden for plants and the surrounding ecosystem.
Benefits of Soil Solarization in Raised Beds
Weed Control: One of the primary benefits of plastic for soil solarization tarp in raised beds is its ability to effectively control weeds. Solarization kills weed seeds and seedlings in the soil by heating the soil to temperatures that can reach up to 140°F or higher. This process significantly reduces the number of weeds in your garden, preventing them from taking over your raised bed and competing with your plants for essential nutrients, water, and sunlight. Additionally, soil solarization can prevent future weed growth by eliminating seeds that would otherwise sprout in the next planting season. This leads to a long-term solution for managing weeds in your garden. how far apart to plant strawberries
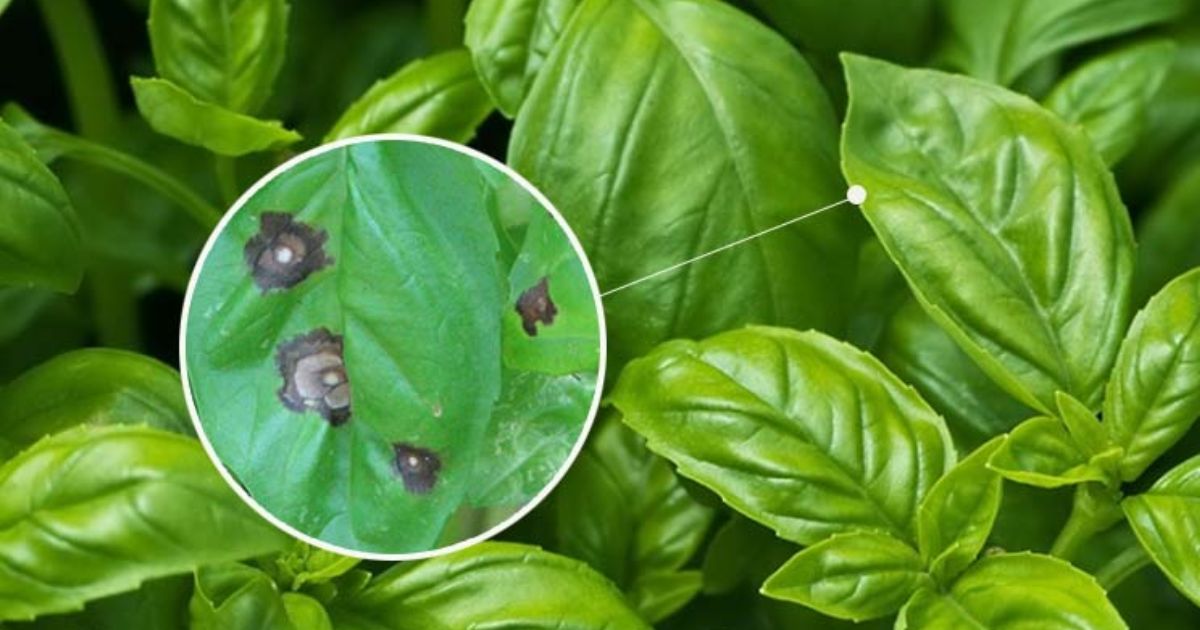
Pest and Disease Control: Solarization doesn’t just help with weeds—it also targets harmful soil pathogens and pests. The heat generated beneath the plastic can reduce the population of soilborne diseases, such as fungi, bacteria, and viruses that may cause issues like root rot and blight. Additionally, it helps eliminate pests like nematodes, grubs, and insect larvae that live in the soil and can damage plant roots. By eradicating these harmful organisms, solarize soil creates a cleaner, healthier environment for your plants to thrive, free from the threat of soilborne diseases and pests.
Improved Soil Health: Beyond controlling weeds and pests, soil solarization can improve the overall health of your soil. The heat helps break down organic matter in the soil, which releases nutrients that are necessary for the growth of plants. This natural process enhances soil structure and promotes the activity of beneficial microorganisms, enriching the soil with valuable organic matter. The result is a more fertile, nutrient-dense environment that supports healthier plant roots and promotes robust plant growth in your raised bed garden.
Non-Chemical Solution: Unlike chemical herbicides, pesticides, or fungicides, soil solarization is natural and non-toxic for improving soil health. It relies solely on solar energy to achieve its effects, making it a safer and more sustainable alternative to conventional chemical treatments. By avoiding synthetic chemicals, soil solarization helps protect beneficial insects, pollinators, and other organisms essential to a balanced garden ecosystem. Moreover, it reduces the potential for chemical residues in your soil, ensuring your plants grow in a healthier, more environmentally friendly space.
Overall, soil solarization in raised beds offers a powerful and natural way to improve soil health, control weeds, and protect plants from pests and diseases—all without relying on harmful chemicals. It’s an ideal solution for gardeners who want to maintain an eco-friendly and sustainable growing environment.
How to Perform Soil Solarization in Raised Beds
Performing soil solarization in raised beds is a straightforward process requiring some preparation and patience. You can harness the sun’s power to naturally improve your soil health by following the steps outlined below. Here’s a detailed guide on how to carry out soil solarization:
Step-by-Step Process
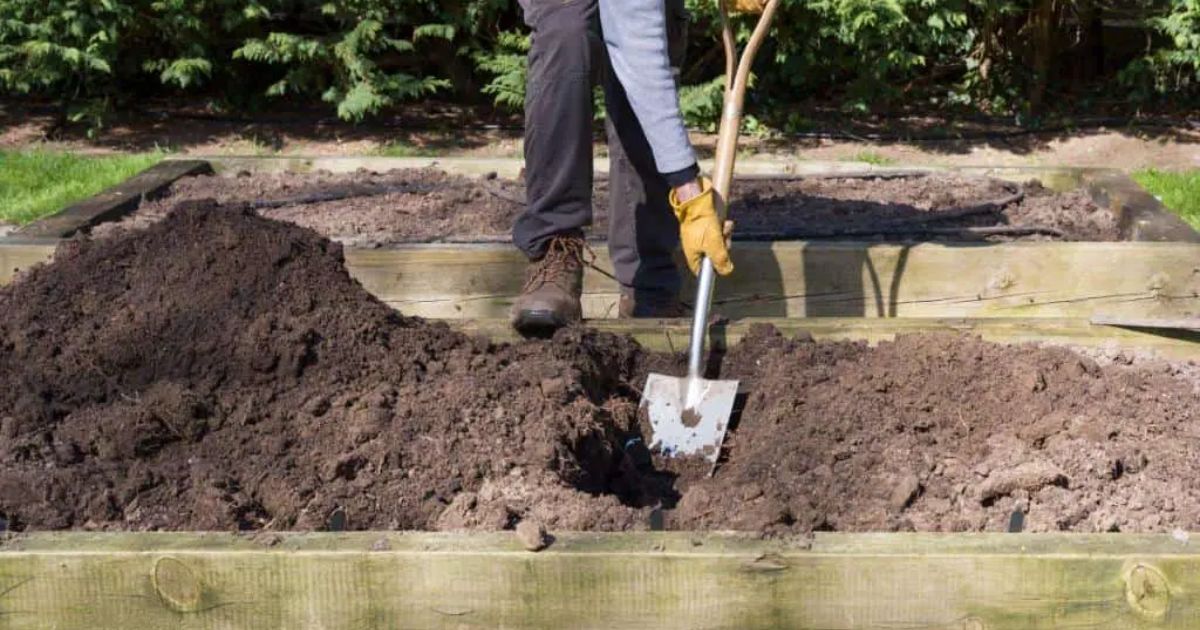
- Prepare the Raised Bed: Begin by clearing the raised bed of weeds, plant material, or debris. This ensures that the solarization process targets only the soil, not plant remnants that could disrupt the heat buildup. It’s essential to remove any large roots, stones, or objects that might puncture the plastic and affect the effectiveness of the solarization process.
- Water the Soil: Once the bed is precise, thoroughly moisten the soil. Watering is essential because damp soil conducts heat much better than dry soil. Ensure the moisture reaches several inches deep into the soil to help maintain the heat under the plastic. This will create the ideal conditions for solarization to work effectively.
- Cover with Plastic: After watering, cover the entire raised bed with transparent plastic sheets. It’s recommended to use clear plastic 1 to 4 mil thick, as this will allow sunlight to penetrate and trap heat efficiently. Cover the soil thoroughly, ensuring the plastic edges are sealed tightly to prevent air escaping. You can use bricks, rocks, or soil to weigh down the edges and secure the plastic.
- Leave it for 4-6 Weeks: Allow the soil to “solarize” under the plastic for about 4 to 6 weeks. During this period, the sun’s rays will heat the soil, raising the temperature to levels that can kill weeds, pests, and soilborne diseases. The timing is crucial—Solarize soil works best when the soil can receive consistent heat, so performing this process during the warmer months is ideal.
- Monitor the Process: While the soil is under plastic, periodically check the process. Ensure the plastic remains intact and free from any tears or holes that could disrupt the heat buildup. A soil thermometer can also be used to keep an eye on the temperature beneath the plastic. Ideally, the temperature should reach around 140°F to 160°F in the top 2-4 inches of soil for optimal results.
- Remove the Plastic: After 4 to 6 weeks, remove the plastic sheet from the raised bed. By this time, the soil should have undergone the necessary heating process, and many of the pests, weeds, and pathogens in the soil will have been eliminated. The soil should now be ready for planting, but it’s a good idea to To further improve the soil by incorporating organic materials like compost before planting your next crop.
Timing and Climate Considerations
- Timing: The best time to perform soil solarization is during the late spring to summertime, when the sun is at its strongest. This will ensure the soil reaches the required temperatures for effective solarization. Aim for a period when the weather is consistently warm, as extended cloudy periods can reduce the process’s efficiency.
- Climate Considerations: Soil solarization is most effective in areas with intense sunlight and warm temperatures. If you live in a cooler climate or experience many cloudy days, solarization may be less effective. Regular temperature monitoring is necessary to make sure it reaches the optimal levels for soil treatment. In cooler climates, it might take longer for the soil to heat up sufficiently, or you might need to adjust the timing of the process.
By taking these actions, you can effectively complete best plastic for solarization in your raised beds. This method improves soil health and pest control and produces a thriving garden. This natural, non-chemical method is a great way to boost soil health and ensure your plants have a strong foundation for growth. how to keep onions from spoiling
Best Practices and Tips for Successful Soil Solarization
To ensure that soil solarization in your raised beds is as effective as possible, following best practices and tips can make all the difference. This natural method requires proper preparation and attention to detail, but the right approach can help create healthier soil for your plants. Below are some essential tips for success:
1. Choose the Right Plastic
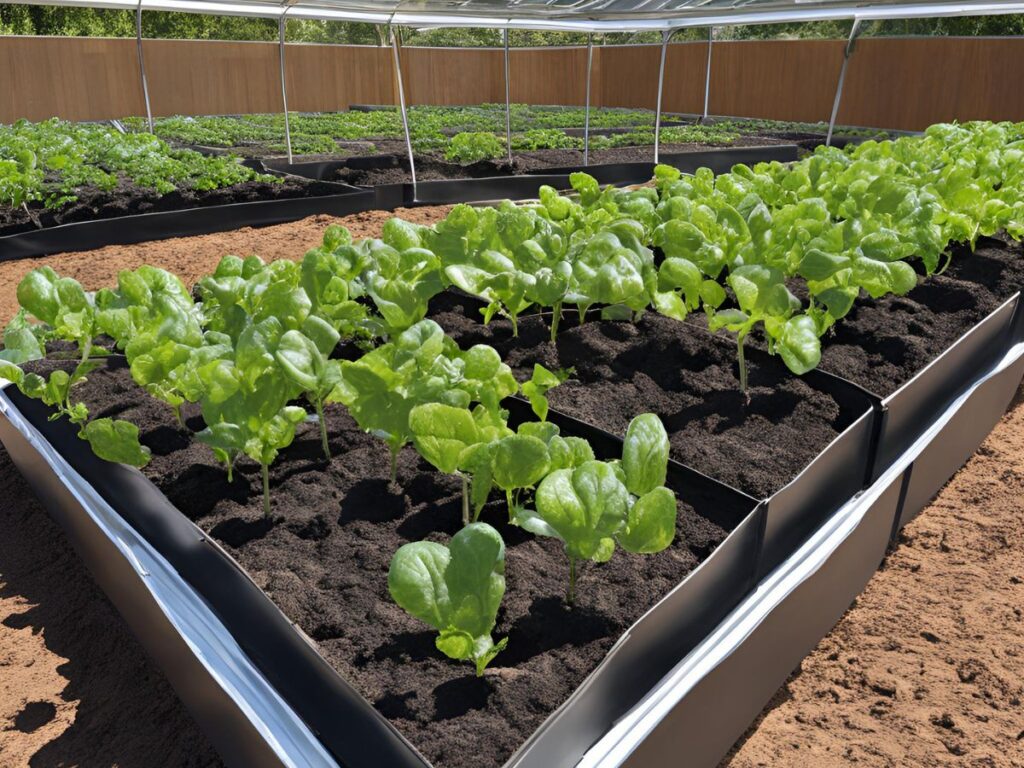
For maximum heat retention and effectiveness, clear plastic is the best choice. Clear plastic allows sunlight to penetrate and trap the heat in the soil, creating the “solar oven” effect needed to kill pests, weeds, and pathogens. Avoid using opaque plastic, as it will block the sun’s rays and reduce the heating process. Also, choose a plastic sheet that is 1 to 4 mil thick enough to withstand the heat buildup but thin enough to allow sunlight to pass through.
2. Monitor Soil Temperature
The success of soil solarization relies on reaching the optimal temperature range for killing harmful organisms. Soil temperatures of 140°F to 160°F in the top 2-4 inches are necessary for effective solarization. A soil thermometer is used to check the temperature regularly during solarization. If the temperature is too low, the solarization may not be as effective, and if it’s too high, it could damage beneficial microorganisms. Monitoring the soil temperature will help ensure you maintain the right pest and disease control conditions.
3. Prepare Soil Properly
The secret to making sure that the soil is prepared properly is solarization works effectively. Start by removing weeds, debris, or plant material from the raised bed. This allows the solarization plastic to target the soil directly without any interference. After clearing the bed, thoroughly moisten the soil before covering it with plastic. Compared to dry soil, damp soil transmits heat more effectively, so water it deeply to ensure the moisture reaches several inches into the soil. This moisture will help trap heat and accelerate the process, resulting in better solarization results.
4. Avoid Cloudy Days
While soil solarization can work year-round, it’s most effective during the warmer months when the sun is intense. However, knowing the weather is essential; it is incredibly cloudy days. Extended periods of cloud cover can significantly reduce the amount of heat reaching the soil, slowing down the solarization process or making it less effective. Try to schedule solarization when the forecast predicts consistent sunny weather for at least 4-6 weeks to ensure the process is effective. If you experience a lot of cloudy days, consider postponing the solarize grass until the weather is more favorable.
5. Post-Solarization Care
Once the solarization process is complete, remove the plastic and let the soil cool down before working with it. While solarization kills many harmful organisms, it may also temporarily reduce the population of beneficial soil microbes. To help restore soil fertility and texture, add compost or organic matter to the bed. This will increase the soil’s nutritional content and structural integrity, and encourage the growth of beneficial microorganisms. Mixing in organic matter can help prepare the soil for planting by making it more nutrient-dense and supportive of healthy plant growth.
By adhering to these recommended procedures, you can optimize the advantages of soil solarization and establish the ideal conditions for your garden to flourish. With proper preparation, monitoring, and post-solarization care, soil solarization in raised beds can be a powerful, natural solution for improving soil health and promoting robust plant growth.
Potential Drawbacks and Limitations of Soil Solarization
While soil solarization offers numerous benefits, it is essential to know its potential drawbacks and limitations. Knowing these difficulties can assist you in determining whether this method fits your raised beds and overall gardening goals.
1. Time-Consuming
One of the primary limitations of soil solarization is that it can take up to 6 weeks to complete. This period can delay planting, especially if you want to plant early in the season. During solarization, the raised bed is covered and sealed with plastic to trap heat, and this process takes time to reach the desired soil temperatures for killing weeds, pests, and pathogens. If you have a tight planting schedule or need to start growing early, this extended waiting period might pose a challenge. Planning your garden calendar carefully and considering the timing of the solarization process is essential to avoid delays in planting. 9 Fruits and Vegetables That Help You Fall Asleep Faster Naturally
2. Effectiveness in Cool Climates
Soil solarization works best in regions with intense sunlight and warm temperatures. In cooler climates or areas that experience insufficient sunlight, the process may be less effective. Without the necessary heat, the soil may not reach the high temperatures needed to eliminate pests and pathogens. If your area has prolonged periods of cold weather or cloudy days, solarization may take longer to achieve its desired effect or might not work at all. In such climates, alternative methods like crop rotation or mulching may be more suitable for controlling pests and improving soil health.
3. Risk of Heat Damage
While solar soil aims to heat the soil to kill harmful organisms, there’s a risk of overheating the soil if the plastic is left for too long. If the temperature under the plastic exceeds optimal levels, it can harm the beneficial soil microbes, which are necessary to keep soil healthy ecosystems. For instance, soil fungi and bacteria that promote nutrient cycling may be killed off, leading to temporary imbalances in the soil. To mitigate this risk, monitoring the temperature regularly and removing the plastic when the desired solarization period has been reached is crucial.
4. Alternative Methods
If soil solarization isn’t ideal for your specific situation, several natural alternatives to soil treatment can also improve soil health and manage pests. Some of these alternatives include:
- Crop Rotation entails changing the crops planted in the same bed every season. This lessens the accumulation of diseases and pests that affect particular plants. Crop rotation can also help balance soil nutrients and reduce weed growth.
- Organic Mulching: Applying organic mulch, such as straw, leaves, or grass clippings, creates a protective layer over the soil. Mulching helps retain moisture, suppress weeds, and improve soil structure. The mulch decomposes and nourishes the soil over time with organic matter.
- Composting: Regularly adding compost to your raised beds can improve soil fertility and promote healthy microbial activity. It’s an ongoing, non-invasive method that enhances soil structure and helps control pests and diseases by enriching the soil with beneficial microorganisms.
- Biological Pest Control: Introducing beneficial insects, such as ladybugs or predatory nematodes, can naturally control harmful pests in your soil without resorting to harsh chemicals.
Depending on your gardening goals and local climate conditions, each of these alternatives offers a natural, non-chemical way to improve soil health and manage pests.
Conclusion
Soil solarization in raised beds offers a robust, natural solution to improve soil health by controlling weeds, pests, and soil-borne diseases. Using transparent plastic sheets to trap solar heat effectively kills harmful organisms while enriching the soil with essential nutrients. The benefits of bake soil to kill bugs include weed control, pest and disease management, and enhanced soil fertility without chemicals. Additionally, solarization is an eco-friendly method that aligns with sustainable gardening practices.
However, as with any gardening technique, soil solarization has limitations, including the time it takes, its effectiveness in cooler climates, and the potential for heat damage to beneficial soil organisms. Despite these drawbacks, the method remains valuable for gardeners looking for a non-toxic alternative to soil treatments.
We encourage you to try soil solarization in your raised beds to improve your soil naturally. With proper preparation, monitoring, and timing, it can be a game-changer for creating healthier, more productive garden beds. Don’t forget to share your experience and results—whether it’s your first time or you’re a seasoned gardener, your insights can help others enhance their soil naturally.
Take action today! Prepare your raised beds for soil solarization plastic, experiment with this sustainable method, and watch your garden thrive as you improve soil health in the most natural way possible. Happy gardening!
FAQs
1. What is soil solarization, and how does it work?
Soil solarization is a natural method for heating the soil to eliminate harmful pests, weeds, and diseases. It entails laying sheets of transparent plastic over the soil to trap solar heat and raising the soil’s temperature to levels that kill without the use of chemicals to eradicate weed seeds and infections.
2. How long does soil solarization take?
The solarization process typically takes 4 to 6 weeks, depending on the weather conditions. During this period, the soil must be exposed to consistent sunlight and high temperatures for the method to be effective.
3. Can soil solarization be done year-round?
Soil solarization is most effective when the sun is intense in warmer months. It works best in late spring to summer, especially in regions with ample sunlight. The process may be less effective in cooler climates or areas with limited sun.
4. Can soil solarization kill beneficial soil organisms?
Yes, soil solarization can kill harmful and beneficial soil organisms, including valuable bacteria and fungi. However, the soil will recover after the solarization period. After removing the plastic, you can add compost or organic matter to restore soil health.

