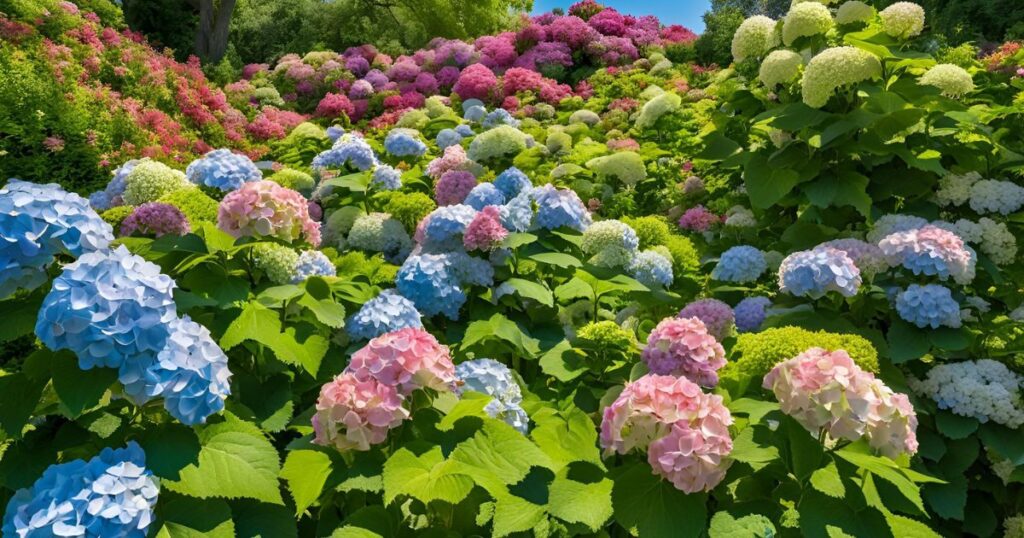
Hydrangeas are one of the most enchanting additions to any garden, celebrated for their lush, vibrant blooms and timeless charm. If you’ve ever dreamed of transforming your outdoor space into a blooming oasis, then our guide, “How to Grow Hydrangeas in Your Garden: Essential Planting, Pruning, and Care Tips,” is just what you need. In this article, we’ll walk you through everything from choosing the ideal garden location and preparing nutrient-rich, well-draining soil to mastering pruning techniques that encourage prolific blooming. Whether you’re a seasoned gardener or a beginner, these practical insights are designed to help you nurture healthy hydrangeas that stand out in any landscape.
Hydrangeas can thrive and become the focal point of your garden with the right combination of sunlight, moisture, and careful maintenance. From planting and proper watering to seasonal care and troubleshooting common issues, our comprehensive guide offers expert tips to ensure your hydrangeas survive and flourish. Get ready to elevate your garden with hydrangeas that captivate and inspire!
Understanding Hydrangeas
Hydrangeas are a diverse group of flowering shrubs that add both elegance and colour to any garden. There are several popular varieties to choose from, each with its unique characteristics. For example, Hydrangea macrophylla—often known as bigleaf hydrangeas—are famous for their large, rounded blooms ranging from soft pinks to deep blue hydrangeas, depending on the soil pH. In contrast, Hydrangea paniculata features conical flower clusters and tends to bloom on new wood, making them more adaptable to colder climates with a more compact size. Meanwhile, Hydrangea arborescens, like the well-loved ‘Annabelle’, produces massive white blooms and thrives on a balance between moisture and light. A key difference among these varieties is whether they bloom on old or new wood, which directly affects the timing and approach to pruning, as well as differences in plant size and colour variations that cater to diverse garden aesthetics. how to store bare root strawberries
For hydrangeas to flourish, they require specific growing conditions that mimic their natural habitats. Ideally, these shrubs should receive about 4-6 hours of sunlight daily to promote blooming without causing the roots to dry out too quickly. They prefer moist, well-draining soil that is slightly acidic, which helps develop their vivid colours and intense blooms. Gardeners in different regions should consider local climate factors: hydrangeas in hotter, drier areas may benefit from additional mulch and consistent watering, whereas those in more remarkable or temperate regions might thrive with minimal extra care. Tailoring these care tips to your specific environment will help you establish the perfect conditions are hydrangeas perennials will bloom and thrive in your landscape.
Essential Planting Tips
Proper planting is key to successfully growing hydrangeas. It ensures they receive the right balance of light, moisture, and nutrients.
Location & Sunlight
Choose a location that provides some shade in your garden—this helps prevent the plants from drying out excessively while providing enough indirect light (ideally 4-6 hours daily) to encourage abundant blooming. Partial shade protects how do you plant hydrangeas during the hottest parts of the day and creates a more stable environment that reduces the risk of wilting.
Soil Preparation
Hydrangeas thrive in moist, well-draining, and slightly acidic soil. Start by testing your soil’s pH using a simple home kit or professional service. If the soil is too alkaline, amend it with materials like elemental sulfur or peat moss to lower the pH. Adding organic matter or compost is essential—not only does it improve moisture retention, but it also enriches the soil with nutrients that support robust growth and vibrant blooms. How to Grow a Ginger Plant
Planting Technique
When you’re ready to plant, begin digging a hole that’s wide and deep enough to comfortably accommodate the blue hydrangea flowers root ball. Loosen the surrounding soil to facilitate root penetration. Set the plant in the hole it was growing in its nursery container at the same depth, then fill in around the roots with the amended soil. Immediately water the plant thoroughly to settle the soil and eliminate air pockets.
Decide whether to plant directly in the ground or use containers. In-ground planting typically allows for more expansive root development and may lead to a larger, healthier plant. On the other hand, hortensias container planting offers greater control over soil pH and moisture levels, making it a great option if you have limited space or wish to move your hydrangea white around to optimize sunlight exposure. Each method has advantages, so choose the one that best fits your garden layout and care routine.
By properly preparing the soil and picking the ideal spot, and using a thoughtful planting technique, you’ll set a strong foundation for your hydrangeas to flourish throughout the growing season.
Pruning Hydrangeas
Pruning is vital for maintaining healthy what do hydrangeas look like. It improves air circulation, shapes the plant, and promotes more abundant flowering. By removing dead or overcrowded stems, sunlight and fresh air can reach the inner branches, reducing the risk of disease and encouraging vigorous new growth.
When to Prune
The timing of pruning depends on the variety of your hydrangea. Regarding cultivars that bloom on aged wood (like Hydrangea macrophylla), it’s best to prune right after the flowering period to avoid cutting off the buds that have already formed for next year. In contrast, varieties that bloom on new wood (such as Hydrangea paniculata and certain Hydrangea arborescens) ought to be trimmed before new growth starts in the late winter or early spring. This timing ensures you don’t remove developing buds and allows the plant to produce fresh blooms in the current season.
How to Prune
Follow these step-by-step instructions for effective pruning:
- Inspect the Plant: Identify any dead, damaged, or diseased stems that need removal.
- Remove Dead Wood: Cut away all dead or diseased stems at their base to improve overall plant health.
- Thin Older Growth: Selectively remove some of the older, thicker stems rather than giving your hydrangea a severe haircut. This thinning process encourages the growth of new, vigorous shoots without compromising the plant’s natural shape.
- Avoid Cutting Future Buds: When pruning varieties that bloom on old wood, make your cuts just above a healthy bud or side branch. This ensures you preserve as many potential flower buds as possible for the next blooming cycle.
- Step Back and Assess: Once you’ve pruned, step back and review the plant’s overall structure. The goal is to achieve an open, balanced shape that maximizes airflow and light penetration throughout the shrub.
Following these pruning guidelines will help you how much sun do hydrangeas need to achieve a healthy, attractive form and set the stage for a vibrant display of blooms in the upcoming season.
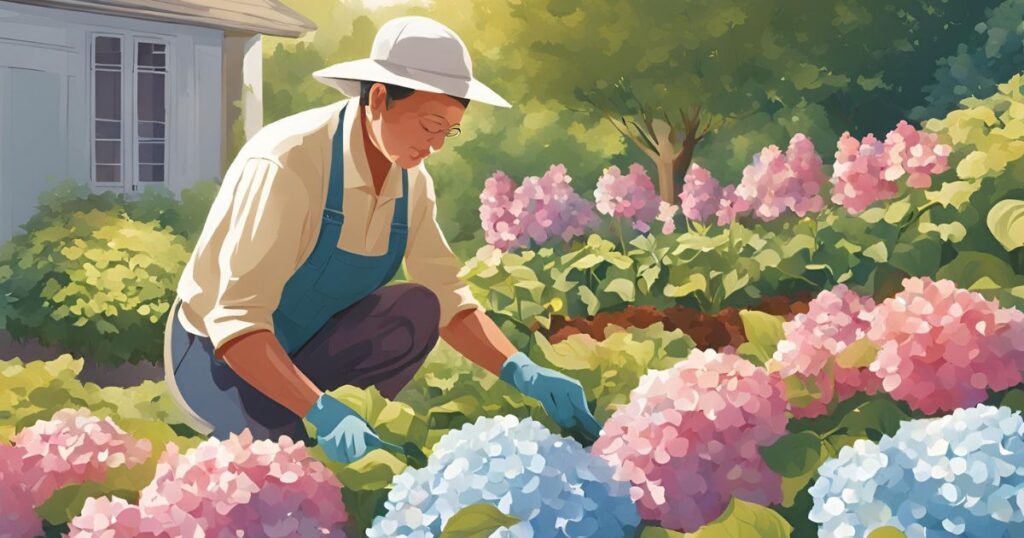
Ongoing Care and Maintenance
Keeping your hydrangeas healthy and vibrant goes beyond proper planting and pruning—it requires ongoing care and maintenance throughout the growing season. is a banana a herb
Watering Guidelines
Hydrangeas have shallow, sensitive root systems that must remain cool and consistently moist. Deep, infrequent watering is ideal to encourage strong root development; however, it’s important to avoid both drought and overwatering. Applying a layer of organic mulch to the plant’s base keeps the roots cool in hot weather and helps preserve soil moisture. To make sure the top few inches of soil aren’t drying out too quickly, check them frequently. However, take care not to soggy the soil because this can cause root rot.
Fertilization
Hydrangeas are heavy feeders and benefit from a balanced fertilization schedule. When new growth begins in early spring, applying a balanced fertilizer—such as a 10-10-10 formulation—provides the essential nutrients for robust flowering and overall plant health. As the season progresses, you may need to adjust the feeding regimen based on weather conditions and growth performance; for example, reducing the fertilizer dose during extremely hot periods can prevent nutrient burn. Periodic feeding throughout the growing season can support continuous bloom production, but always follow the recommended rates to avoid over-fertilization.
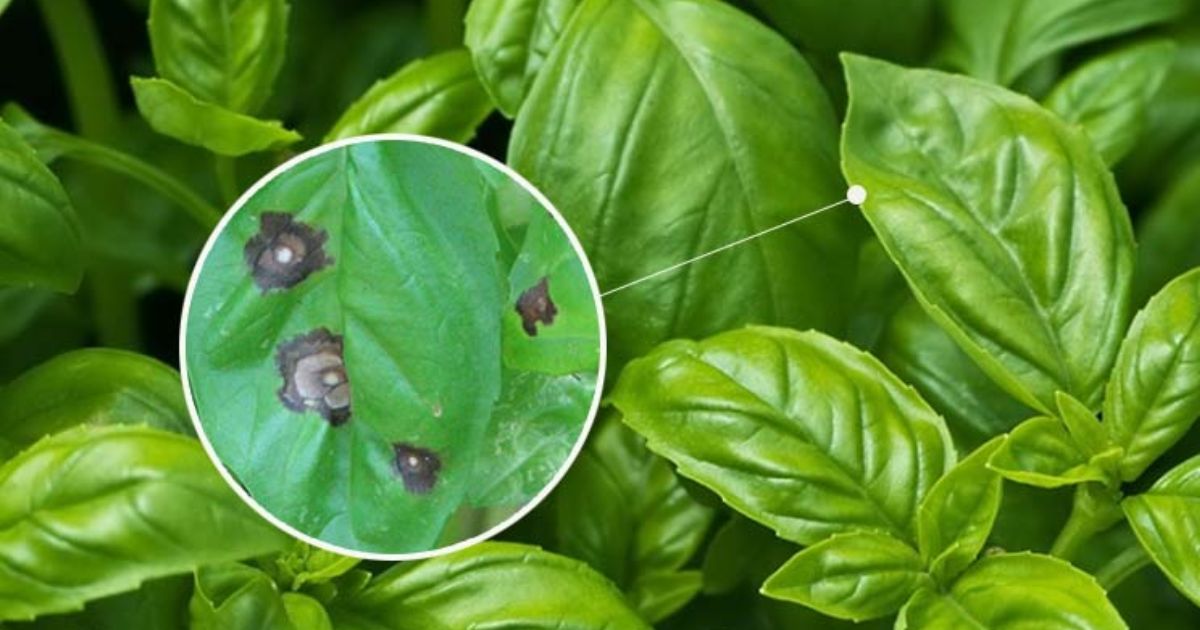
Pest & Disease Management
Keeping an eye on your hydrangeas for signs of diseases and pests is crucial to maintaining their visual appeal. Typical issues include powdery mildew and other fungal diseases leaf spots and pest infestations from aphids or spider mites. For minor fungal problems, organic fungicides or a simple homemade solution (such as a diluted milk spray) can be effective. In cases of pest infestations, insecticidal soap or neem oil provides an eco-friendly remedy. The key is early detection—inspect your plants regularly and take action at the first signs of trouble to prevent a small issue from becoming a major problem. Ensuring proper spacing and air circulation around your white hydrangeas can significantly reduce disease risk.
By consistently monitoring water levels, feeding appropriately, and promptly addressing any pest or disease issues, you’ll make sure your hydrangeas have the perfect conditions to flourish all season long.
Seasonal Considerations
Seasonal care plays a critical role in ensuring all year long, your hydrangeas stay strong and colorful. By adjusting your planting, winter, and summer care techniques to match the changing seasons, you can provide your hydrangeas with the ideal environment to thrive.
Planting Season
Fall is widely recognized as the optimal time to plant hydrangeas. Planting in the fall allows your bloomstruck hydrangea to establish a robust root system during the cooler, more temperate months before the stress of spring and summer arrives. As noted in Real Simple, fall planting gives the roots ample time to settle into the soil, which can lead to more vigorous growth and a fuller bloom in the following season. The Best Types of Flowers for Every Garden Style and Climate Additionally, the cooler temperatures and increased rainfall typical of fall help reduce water loss and lessen transplant shock, making it easier for your new plants to adjust to their surroundings.
Winter Protection
In colder months, hydrangeas require extra protection to withstand harsh weather conditions. One of the most effective methods is applying a thick layer of mulch surrounding the plant’s base. Mulch acts as an insulating blanket that helps maintain a more consistent soil temperature and retains moisture, protecting the roots from freezing. It’s also important to practice minimal pruning during winter—resist the urge to shape your hydrangea pink plant heavily during this time. Over-pruning can inadvertently remove buds that are essential for next year’s blooms and may stress the plant when it’s most vulnerable.
Summer Care
Summer brings its own set of challenges for hydrangeas, particularly during heatwaves. To prevent wilting and ensure your plants remain healthy, adjusting your watering frequency is essential—more frequent, deep watering sessions can help keep the roots cool and hydrated. During the warmest hours of the day, offering some shade can further reduce stress; hydrangeas benefit from partial shade, How to Take Hydrangea Cuttings: A Step-by-Step Guide which protects them from the intense midday sun without depriving them of the light they need to bloom. Regularly check the soil moisture and consider using additional mulch to help moderate temperature fluctuations and conserve water.
By adjusting your daily maintenance regimen to the particular demands of each season, you can help your hydrangeas flourish all year long and ensure a stunning display of blooms in every season.
Troubleshooting Common Issues
Even the most well-cared-for hydrangeas can sometimes experience setbacks. When things don’t go as planned, troubleshooting common issues can help restore your plants’ health and vibrant blooms. strawberry breeds
Bloom Troubles
If your hydrangeas aren’t blooming as expected, it may be due to timing or nutritional issues. One common culprit is improper pruning—especially for varieties that bloom on old wood. Pruning too early or late can remove the buds necessary for next year’s flowers. Additionally, nutrient deficiency might be affecting flower production. In such cases, consider supplementing your soil with a balanced fertilizer to ensure your hydrangeas receive the essential nutrients they need for prolific blooming.
Leaf Wilting
Wilting leaves can indicate both under and overwatering. When hydrangeas don’t get enough water, their leaves droop and may dry out; conversely, excess water can result in soggy soil and root rot, causing similar symptoms. The key is to maintain consistent moisture in the soil. How to Prune Roses for Healthy Growth and Beautiful Blooms Using mulch around your plants can help regulate temperature and retain moisture without making the soil soggy. Regularly check the top inches of soil to gauge whether adjustments in your watering schedule are needed.
Soil and pH Problems
Hydrangeas thrive in slightly acidic soil, and an incorrect pH level can hinder their performance. You may notice reduced bloom intensity or off-colour flowers if your soil is too alkaline. Using a soil test kit to monitor pH levels is essential; if needed, amend your soil with elemental sulfur to lower the pH. On the other hand, if your garden lime can help balance out too acidic soil. By managing soil conditions properly, you ensure that your white hydranges have optimal access to nutrients, paving the way for robust growth and beautiful blooms.
Early resolution of these problems can have a significant impact. Regular monitoring, timely adjustments, and a little extra care will help your variegated hydrangea bounce back and thrive season after season.
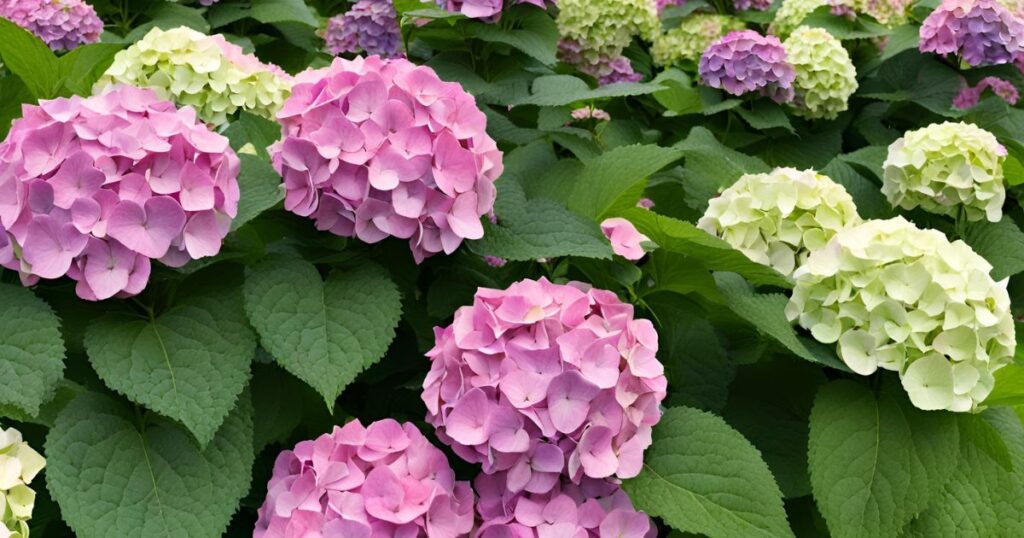
Hydrangea to Buy
If you want hydrangeas, you’re in for a beautiful addition to your garden or home. Hydrangeas are popular flowering shrubs known for their large, vibrant blooms in a variety of colors—blue, pink, white, and purple. They are popular because of their capacity to alter color based on the pH of the soil. gardening enthusiasts. Acidic soil is ideal for blue flowers, while alkaline soil results in pink blooms.When buying hydrangeas, consider the variety that suits your climate and space. How to Grow and Care for Honeysuckle Popular types include the mophead, panicle, and lace-cap hydrangeas. Choose healthy plants with strong stems and no signs of disease or wilting. You can find them at local nurseries, garden centres, or reputable online stores.
Planting them in spring or fall when temperatures are mild is best.Hydrangeas thrive in well-drained soil and partial sun. Regular watering and occasional pruning will keep them blooming beautifully throughout the season. Whether used as a garden centrepiece, border plant, or even in decorative pots, hydrangeas bring charm and elegance wherever planted. With the right maintenance, they can bloom year after year, making them a long-term investment in aesthetics.
Conclusion
Cultivating hydrangeas in your garden can be rewarding, offering vibrant blooms and lush foliage that enhance any landscape. You can ensure your hydrangeas thrive throughout the seasons by adhering to essential planting, pruning, and care tips. Selecting the appropriate location with optimal sunlight, preparing nutrient-rich, well-draining soil, and employing proper planting techniques establish a strong foundation for growth. Regular pruning, tailored to your hydrangea variety, promotes healthy development and abundant flowering. Consistent watering, mindful fertilization, and vigilant pest management further support the plant’s vitality. By understanding and addressing seasonal considerations and common obstacles, you can preserve the well-being and aesthetic appeal of your hydrangeas year after year. With attentive care and informed practices, your garden will flourish with the timeless elegance of hydrangeas.
FAQ
How often should I water my hydrangeas?
Hydrangeas require consistent moisture to thrive. Watering them deeply three times a week is recommended to encourage strong root growth. Bigleaf and smooth hydrangeas may need more water compared to other varieties. A soaker hose can help deliver water directly to the roots while maintaining the dryness of the leaves. Applying mulch underneath your hydrangeas can also help retain soil moisture and cool the roots.
What is the best time to prune my hydrangeas?
The ideal pruning time depends on the hydrangea variety:
- Hydrangeas that bloom on old wood (e.g., bigleaf and oakleaf varieties) should be pruned as soon as the flowers open, usually in late spring or early summer. This timing prevents the removal of buds that will produce next year’s flowers.
- Hydrangeas that bloom on new wood (e.g., panicle and smooth varieties) are best pruned before the onset of fresh growth, in late winter or early spring. This encourages the development of new stems that will bear flowers in the upcoming season.
Proper pruning techniques are essential to maintain plant health and ensure abundant blooms.
How do I adjust soil pH for different hydrangea varieties?
Hydrangea flower colour can be influenced by soil pH, particularly in bigleaf varieties:
- To produce blue flowers, the soil should be acidic (pH below 6). You can lower the soil pH by adding soil acidifiers or aluminium sulfate.
- The soil should be more alkaline (pH above 7) for pink flowers. Incorporating lime can raise the soil pH.
It’s important to note that not all hydrangea varieties respond to soil pH adjustments, and changing the pH can be a gradual process. It is advised to do routine soil testing in order to track pH levels and make well-informed modifications.