Maintaining a healthy, green lawn starts with ensuring your sprinkler system is working efficiently, and that begins with properly adjusting your sprinkler heads. If you’re using Rainbird sprinklers, you’re already off to a great start. These reliable and popular irrigation systems offer customizable features that let you control both the distance and spray pattern of the water. But to get the best results, you need to know exactly how to fine-tune these settings.
In this guide, we’ll walk you through how to adjust a Rainbird sprinkler head for distance and spray pattern so you can maximize coverage, minimize waste, and keep every corner of your yard properly hydrated. Whether you’re dealing with dry patches, overspray, or want more control over your irrigation, these simple Rain Bird sprinkler heads adjustment can make a big difference in your lawn’s overall health and appearance.
Tools You’ll Need
How to adjust rain bird sprinkler heads? Before you begin adjusting your Rainbird sprinkler head, it’s essential to have the right tools on hand. Thankfully, the procedure is easy to follow and takes very little equipment:
- Flathead Screwdriver or Rainbird Adjustment Tool: Most rainbird sprinkler head adjustment heads can be adjusted with a standard flathead screwdriver. However, if you have a Rainbird adjustment tool, it’s even better—it’s specifically designed to fit the adjustment screws and slots, making the process quicker and more precise.
- Gloves (Optional): While not essential, wearing gloves can protect your hands from dirt, debris, or sharp edges, especially if you’re reaching into the ground or adjusting rainbird sprinklers multiple sprinkler heads.
- Water Source Turned On for Testing: It’s crucial to have your sprinkler system running while you make adjustments. This allows you to see the current spray distance and pattern in real time so that you can fine-tune the settings accurately.
Having these tools ready ensures a smooth and effective adjustment process, helping you get the most out of your Rainbird sprinkler system.
Understanding Your Rainbird Sprinkler Head
Before making any cadjust rain bird sprinkler head, it’s essential to understand the type of Rainbird sprinkler head you’re working with. Rainbird offers a variety of models, but they typically fall into two main categories: rotor heads and spray heads, each designed for different irrigation needs.
Rotor Heads vs. Spray Heads
- Rotor Heads: These sprinkler heads rotate back and forth while watering, making them ideal for covering large areas like lawns or wide garden beds. They generally have a longer spray distance and adjustable arcs, and their movement helps distribute water evenly across larger zones.
- Spray Heads: These emit a constant fan-shaped spray and are better suited for smaller, more confined areas such as flower beds, narrow strips of grass, or borders. Spray heads don’t rotate but can still be adjusted for distance and coverage pattern.
Rainbird Model Overview
Rainbird offers a variety of models like the 1800 Series spray heads, the rainbird 5000 adjustment Series rotor heads, and Mini-Paw or Maxi-Paw impact rotors. Each model may have slight differences in how adjustments are made, but the core principles are the same.
- 1800 Series: Common pop-up spray heads used in residential gardens.
- 5000 Series: Popular rotor heads with precise distance and arc adjustment.
- Mini-Paw/Maxi-Paw: Impact rotors that are best for larger yards or rugged terrain.
Where to Find the Distance and Pattern Controls
- Distance Control: Usually located on the top of the sprinkler head, the distance screw can be turned clockwise to reduce spray distance or counterclockwise to increase it. In rotor models, this is often found near the nozzle or a small keyhole.
- Spray Pattern Control (Arc Adjustment): This is typically adjusted using a screw or slot on the top or side of the sprinkler head. On rotor models like the 5000 Series, you’ll find arc adjustment slots labeled with “+” and “–“ symbols to increase or decrease the spray angle.
Knowing your Rainbird model and where the controls are located makes the rain bird adjustment process easier and ensures you’re tailoring your system to meet your lawn’s specific needs.
How to Adjust the Spray Distance
Adjusting the spray distance on your Rainbird sprinkler head ensures that water reaches just the right areas of your lawn—no more, no less. Whether you’re dealing with overspray onto sidewalks or dry patches in the grass, fine-tuning the spray distance can improve both efficiency and coverage.
Step-by-Step Instructions
- Turn on the Sprinkler: Begin by turning on your sprinkler system. This allows you to observe the current spray distance and make real-time adjustments as needed.
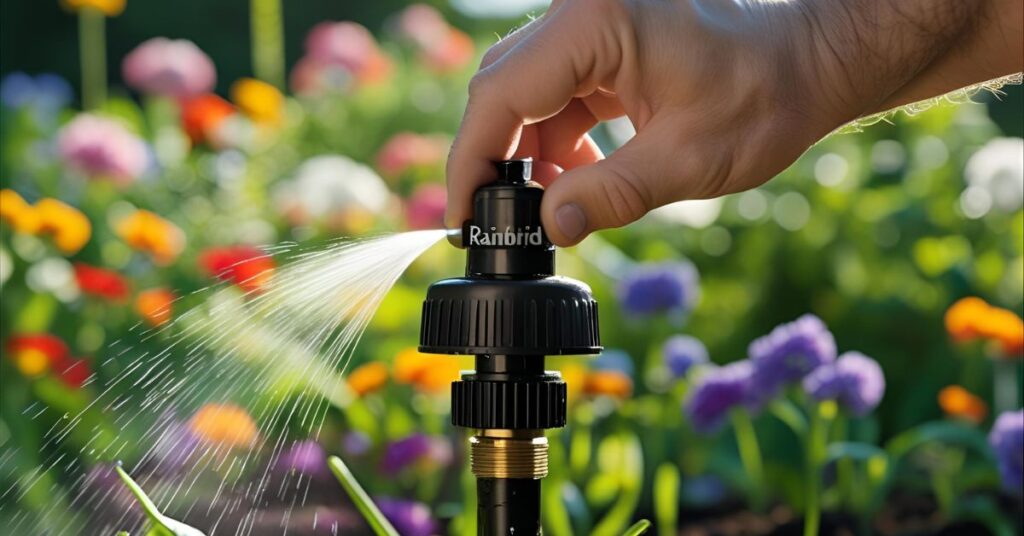
- Locate the Distance Screw: On most Rainbird models, the distance rainbird sprinklers adjustment screw is found on the top of the sprinkler head, near the nozzle. It’s typically a small brass or plastic screw that a flathead screwdriver may be used to alter or a Rainbird adjustment tool.
- Adjust the Distance
- Turn the screw clockwise to reduce the spray distance. This causes the screw to block part of the water stream, reducing its reach.
- To extend the spray distance, rotate the screw counterclockwise by allowing more water to exit freely through the nozzle.
- Check Water Pressure: The overall spray distance is also affected by your system’s water pressure. If the pressure is too low, even turning the screw counterclockwise may not increase the reach. Conversely, too much pressure can lead to excessive spray beyond the target area.
Troubleshooting Tip
If adjusting a rainbird sprinkler head, the distance screw doesn’t seem to change the spray length, check for clogs in the nozzle or debris around the head. Turn off the system, clean the nozzle gently with a soft brush or water, and try adjusting again. Also, ensure you’re using the correct tool to avoid stripping the screw.
Fine-tuning the spray distance not only helps conserve water but also improves overall lawn health by ensuring every section receives the right amount of moisture.
How to Adjust the Spray Pattern (Arc)

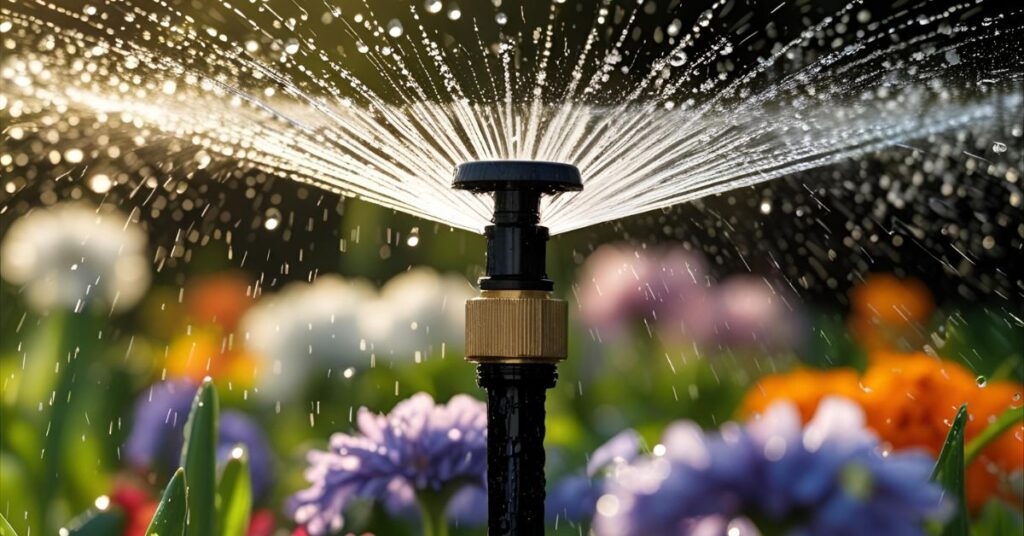
The spray pattern, or arc, determines how far your Rainbird sprinkler head turns from side to side while watering. Adjusting the arc ensures water reaches exactly where it’s needed, helping you avoid overspray onto sidewalks or fences and providing complete coverage of your lawn or garden.
Step-by-Step Guide
1. Identify the Left and Right Stops: Please turn on your sprinkler and watch it rotate. The left stop is usually fixed, while the right stop is adjustable. These stops define the sweep or arc of the sprinkler head, from its starting point to where it stops and reverses direction.
2. Use a Screwdriver or Adjustment Tool: Locate the arc adjustment slot on the top of the sprinkler head. This slot is often marked with “+“ and “–“ symbols. Using a flathead screwdriver or rainbird sprinkler adjustment tool:
- Turn clockwise (“+“) to increase the arc (wider spray pattern).
- Turn counterclockwise (“–“) to decrease the arc (narrower spray pattern).
3. Rotate the Nozzle if Needed: If your sprinkler head is not correctly aligned with the area you want to water, gently rotate the entire nozzle body (while the system is off) to reorient the direction of the fixed left stop. Be careful not to force it, as that could damage the internal gears.
4. Example Adjustments
-
- Narrow Pattern: Use a tighter arc (e.g., 90°) for smaller areas like a side yard, garden bed, or corner space.
- Wide Pattern: Set a broader arc (e.g., 180° to 360°) for larger, open lawns or circular garden zones.
Fine-tuning the spray pattern allows for precise watering, reduces waste, and helps prevent damage to structures or plants outside your intended irrigation area. Regular checks and adjustments keep your system running efficiently all season long.
If you’re preparing your yard for colder months, don’t forget to check how to care for unique plants like the flamingo tree in winter.
Pro Tips for Best Coverage
Getting the most out of your Rainbird sprinkler system goes beyond just setting a rainbird sprinkler head the spray distance and arc—it’s also about clever positioning and environmental awareness. Use these professional tips to fine-tune your irrigation for maximum efficiency and lawn health.
1. Position Sprinkler Heads for Even Overlap
One of the golden rules of irrigation is achieving head-to-head coverage. This means positioning each sprinkler so its spray reaches the neighboring head. This adjust rainbird sprinkler ensures even water distribution across the entire area, eliminating dry spots and preventing oversaturated zones.
Tip: Don’t rely on one sprinkler to cover a large area. Use multiple heads with overlapping arcs to build a balanced, consistent spray pattern.
2. Avoid Overwatering or Underwatering
Proper adjustment helps avoid wasting water or starving your plants. Root rot and fungal infections can result from over watering, while too little can cause brown patches and plant stress.
- After adjusting your system, observe your lawn for signs of pooling or dryness.
- Measure with a small container or rain gauge the amount of water each zone receives—ideally around 1 inch per week, depending on your climate.
3. Adjust for Wind or Sun Exposure
Wind can blow the spray off course, especially in open areas. Likewise, sunny spots tend to dry out faster than shaded ones.
- For windy areas, shorten the spray distance slightly and consider watering during early morning hours when winds are calmer.
- In sun-exposed zones, you might need to increase watering duration or frequency, while shaded areas may require less to avoid oversaturation.
By applying these pro tips and monitoring how your lawn responds, you can make minor but effective tweaks to your Rainbird system that lead to lush, evenly watered turf with minimal waste.
Common Issues and Fixes
Even with proper setup, Rainbird sprinkler heads can occasionally experience performance issues. Fortunately, most problems are easy to identify and fix with a few simple steps. Here are some common issues you may encounter—and how to resolve them quickly:
1. Sprinkler Not Rotating? Check for Debris
If your Rainbird rotor head stops rotating or only turns partially, it’s often due to dirt, grass, or small debris caught inside the mechanism.
Fix:
- Turn off the water supply.
- Gently lift the sprinkler head and inspect around the nozzle and gear drive.
- Flush the system by turning on the water briefly while the nozzle is open, or remove the nozzle for a deeper clean.
Regular cleaning can help keep the gear-driven mechanism running smoothly.
2. Weak Spray? Check Water Pressure or Nozzle Clog
A sprinkler head producing a weak or uneven spray may indicate low water pressure or a clogged nozzle.
Fix:
- Make sure your main water valve is fully open.
- Inspect the nozzle for mineral buildup, dirt, or debris.
- Use a small brush or toothpick to clean the nozzle opening.
- If pressure is consistently low, consider watering fewer zones at a time or installing a pressure regulator.
3. Uneven Spray? Adjust Arc and Distance Again
If some parts of your lawn are getting more water than others, your sprinkler head may need further fine-tuning.
Fix:
- Re-check the arc and distance settings to ensure proper coverage.
- Make sure the sprinkler head is level with the ground. A tilted head can cause water to shoot in the wrong direction.
- Verify that the sprinkler is positioned correctly for head-to-head coverage.
Making these minor rain bird sprinkler head adjustment will help restore balanced watering and make your lawn healthier overall. Regularly checking your system ensures long-lasting performance and efficient water use.
Just like selecting the right irrigation system, choosing the right citrus for your garden can be confusing—especially when comparing clementine vs mandarin.
Maintenance Tips
To keep your Rainbird sprinkler system running efficiently and extend its lifespan, routine maintenance is essential. A few simple checks throughout the year can keep your grass healthy and watered evenly while avoiding expensive repairs.
1. Clean Sprinkler Heads Regularly
Dirt, grass clippings, and mineral deposits can clog your sprinkler nozzles and affect spray performance. Over time, this can lead to weak coverage or uneven watering.
Tip:
- Remove the nozzle and filter screen every few months.
- Rinse both under running water or soak in a vinegar solution to dissolve hard water buildup.
- If necessary, gently scrub with a gentle brush before reinstalling.
2. Check for Leaks
Leaks around the base of a sprinkler head or from underground lines can waste water and reduce system pressure.
Tip:
- Run your system zone by zone and inspect for pooling water, sputtering, or bubbling around sprinkler heads.
- Tighten fittings or replace worn seals if leaks are found.
- If you suspect an underground leak, look for unusually wet patches or areas of rapid grass growth.
3. Make Seasonal Adjustments
As the seasons vary, so should your sprinkler settings to suit your lawn’s watering requirements.
Spring/Summer:
- Increase watering frequency during hot, dry months.
- Check that spray patterns are still aligned after winter dormancy.
Fall:
- Begin reducing watering frequency as temperatures drop.
- Continue clearing debris and monitoring for clogs.
Winter (in cold climates):
- Winterize your system by shutting off the water supply and draining the lines.
- Use compressed air to blow out any remaining water in the pipes and heads to prevent freezing and cracking.
Conclusion
Adjusting your Rainbird sprinkler head for the proper spray distance and pattern is a simple yet crucial step to achieving an evenly watered, healthy lawn. By following the key steps—turning on the sprinkler to observe, adjusting the distance screw to control how far water sprays, and fine-tuning the arc adjustment to set the spray pattern—you can customize your irrigation system to fit your yard’s unique needs perfectly.
Don’t forget that regular maintenance, like cleaning sprinkler heads, checking for leaks, and making seasonal adjustments, is essential to maintaining your system efficient and your lawn thriving year-round.
Have you tried adjusting your Rainbird sprinkler head? Feel free to share your tips, questions, or experiences in the comments below—we’d love to hear how you keep your lawn looking its best!
FAQs:
Q1: Can I adjust my Rainbird sprinkler head while the system is running?
Yes! It’s easier to adjust both the spray distance and pattern while the sprinkler is on, so you can see the changes in real time and fine-tune accordingly.
Q2: What tool do I need to adjust a Rainbird sprinkler head?
A standard flathead screwdriver works for most models, but a Rainbird adjustment tool (available from the manufacturer) is explicitly designed for this purpose and can make adjustments easier.
Q3: Why isn’t my Rainbird sprinkler head spraying as far as it should?
This could be due to the distance adjustment screw being set too low, low water pressure, or a clogged nozzle. Check and clean the nozzle, then adjust the distance screw as needed.
Q4: How do I know if my sprinkler head needs the spray pattern adjusted?
If water is overshooting sidewalks, fences, or missing certain areas, your spray pattern (arc) likely needs tweaking. Adjust the arc stops to widen or narrow the spray coverage.
Q5: How often should I maintain or clean my sprinkler heads?
It’s best to inspect and clean your sprinkler heads at least twice a year, typically throughout the spring and fall, to guarantee peak performance and avoid obstacles.