
Although fermenting and saving tomato seeds may seem simple, a little-known trick can help you increase the likelihood of germination and expedite the process: fermenting tomato seeds. You can get a head start on next year’s plants by including this extra step in your routine for saving seeds!
Why Ferment Tomato Seeds?
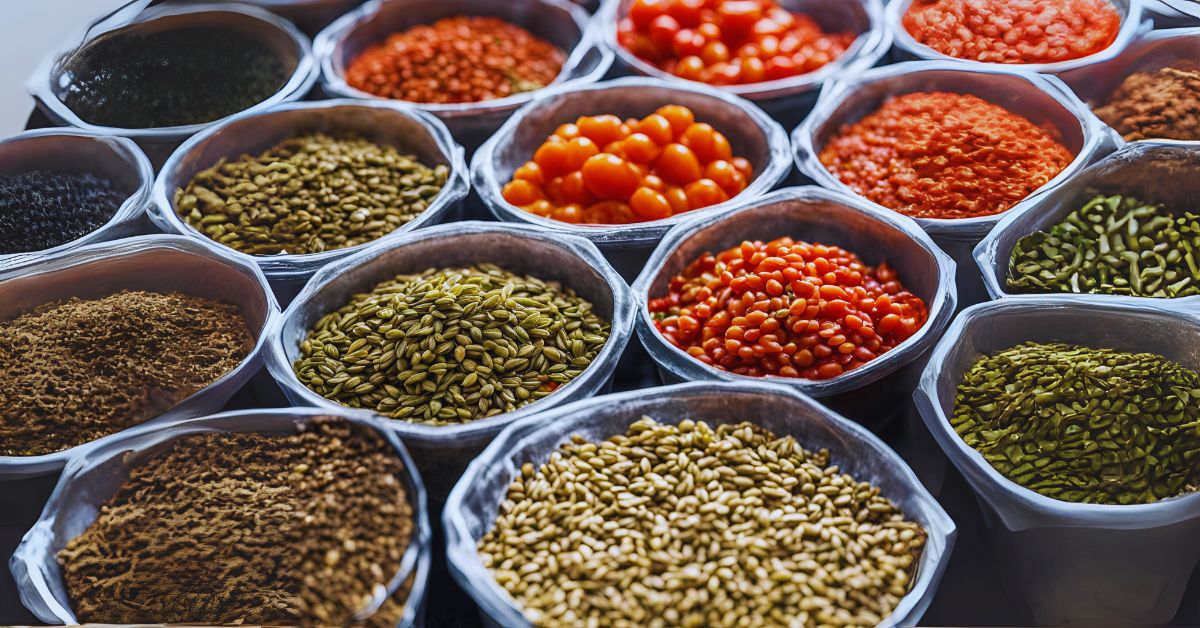
The steps involved in fermenting tomato seeds are as follows for those of you who are unfamiliar with them:
- Putting your most excellent tomato’s seeds and guts in a container
- Applying water to the tomato substance
- Allowing the mixture to solidify until mould forms on the surface
This occasionally odorous procedure aims to get the microbes to consume the gelatinous substance that envelops the seeds. As I mentioned, this is no easy task.
The material surrounding the seeds prevents them from germinating and sprouting while still inside the Are tomato seeds bad?
Additionally, experts assert that the fermentation process somehow guards against tomato illnesses.
Let’s take a moment to avoid any legal jargon. This content may contain affiliate links. These links suggest that I will receive a small payment if you click on them and make a purchase from my partners. It has no bearing whatsoever on my suggestions.
I’ve had excellent results preserving and saving tomato seeds fermenting without fermenting. After removing the seeds, I spread them on a paper towel.
When I apply this strategy, I get high germination rates. It is how some of my best plants started.
The tomato variety might be the reason for my “paper towel” success. The anti-germination substance in my pink brandywines or pineapple tomatoes isn’t as strong as in other types.
How To Fermenting Seeds?
If you’re a novice or beginner seed saver, you will know:
1) to have separated your tomatoes from other types.
2) select a mature fruit from various plants with desirable qualities.
3) to only attempt to save from open-pollinated types.
Notes: Because tomato varieties have exquisite flowers that self-pollinate, they’re easy to separate. We advise a 10—to 50-foot separation between varieties.
Examine the variety to find out if your tomatoes are open-pollinated. Your tomato plant’s seeds won’t produce actual seeds if the variety name includes the letter “F1” or if you discover it is a “Hybrid.” Put otherwise; it is highly improbable that the tomatoes produced by the subsequent plant will resemble those of the parent plant. Select heritage and open-pollinated cultivars if you wish to preserve your plant seed. Thankfully, Sow True Seed’s plants and seeds are always open-pollinated because part of our goal is maintaining genetic variety and empowering communities for food sovereignty by preserving seeds!
Step 1: Cut your tomatoes along the equator for easy seed extraction.
Step 2: Squeeze or scrape the seeds into a clean container. Mason jars work well. Use a different container for each variety.
Step 3: Add an equal amount of clean (filtered or I use well water) to tomato gunk. Stir vigorously.
Step 4: Let the seeds ferment for one to three days, depending on the temperature. If you wish to keep fruit flies out, you can cover the jar, but if you do, you will need to “burp” the ferment because Fermentation will produce gasses.
Note: Fermenting aims to break down the gelatinous placental covering on the seed.
Step 5: Stir the seeds daily. You will begin to see them sink to the bottom of the jar.
Step 6: Top off the jar with water and remove the top layer of detritus.
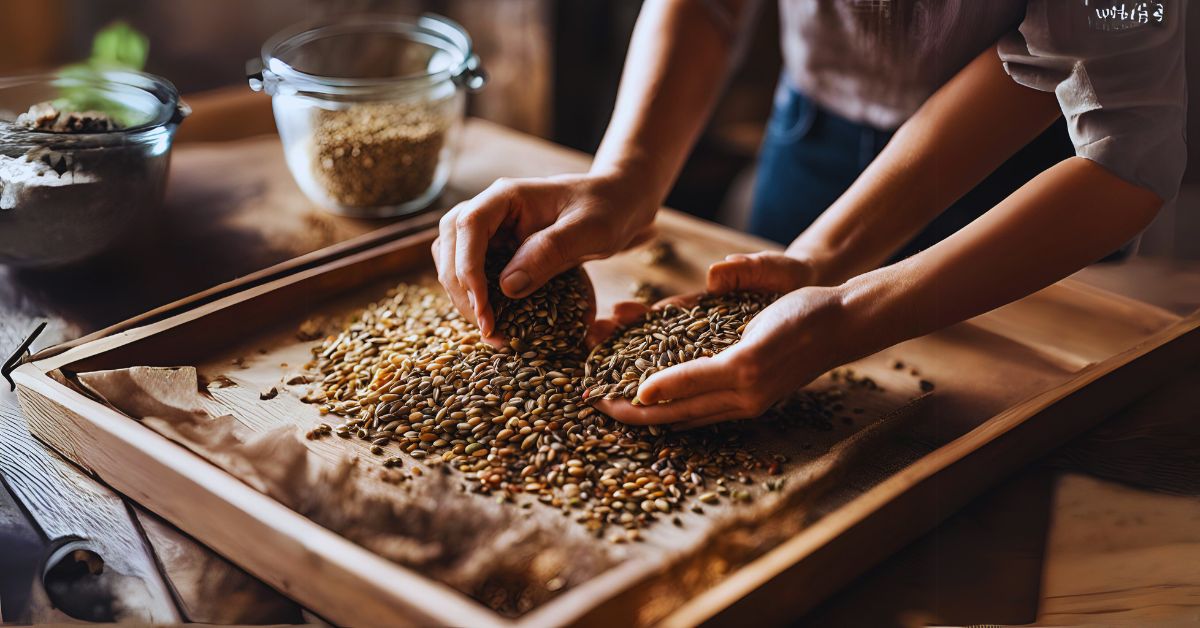
Step 7: The remaining seed gloop can be rinsed thoroughly through a metal sieve, leaving only clean seeds.
Step 8: Let the clean seeds dry. I like using coffee filters instead of paper towels because nothing sticks to the seeds.
Step 9: Dehydrated seeds can be stored dry, dark and cool. I accomplish this with a small mason jar, silica gel pack, and cellar refrigerator.
How does Fermentation help with Tomato Seeds?
Overripe tomatoes fall off their vines and decay in the ground, causing tomato seeds to naturally ferment. Before sprouting, the seeds wait days, weeks, or even years for the ideal environmental conditions in the soil, where bacteria are actively at work.
It is why ferment seeds grow best when we don’t touch them! These tomatoes gladly volunteer everywhere in the yard, taking their position from discarded bird droppings or undigested compost.
We can replicate this natural process by fermenting the seeds as we remove them from the fruits.
Lacto-fermentation eliminates the germination-inhibiting material on the seed coat—the sticky gel sac that envelops every seed. As beneficial bacteria replace harmful ones, Fermentation also eliminates some seed-borne illnesses, enhancing the health of seedlings and the robustness of mature plants.
Generally speaking, sound, viable seeds sink to the bottom of the water during Fermentation, whereas poor seeds float to the top.
Additionally, it has been said that tomato seeds that have been appropriately fermented, cleaned, dried, and stored might last for up to ten years! Discuss giving your children a genuine heirloom.
Do you Need Tomato Seed Fermentation to make them Viable?
To answer your question, no, fermenting tomato seeds is not necessary.
Non-fermented seeds have not sprouted ideally for me, and they haven’t either. It frequently comes down to timing, genetics, and luck.
Tomato seeds can be preserved by rinsing and drying them, like any wet seeds, avoiding the fermentation process altogether.
However, Fermentation is too simple not to try if you can improve the health of your future plants, raise your odds of germination, and have it happen much sooner under less-than-perfect conditions.
How to Ferment Tomato Seeds | Fermentation of Seeds
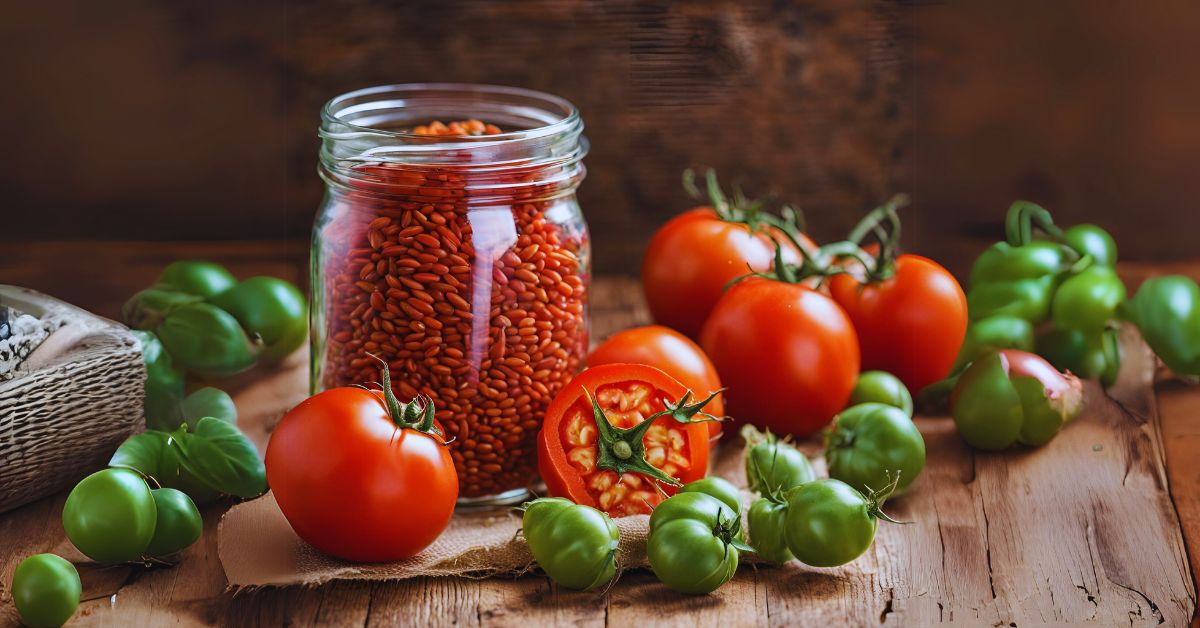
Scoop or press the seeds (together with the gooey substance that comes with them) from completely ripe tomatoes into a small, clean jar to start the fermentation process. While separating the seeds is unnecessary, try eliminating as much of the pulp as possible.
I use “mature” rather than “ripe” since a fully formed green tomato can still produce viable seeds.
What are the signs when a tomato is mature? Examine the seeds of a fully ripe fruit; if a gel has developed around them, the seeds are mature. Top Tips For Starting Germinate Hard Seeds
Which indicators point to immature tomato seeds?
- The gel around the seeds is invisible.
- A knife can easily cut the seeds.
- You can use your teeth to bite into the seeds.
- The seed covering is removed with your fingertips.
The seeds should not be kept in those cases since they are not yet ready.
Just pick your tomatoes when they are slightly coloured to rule out the potential of immature seeds. (To avoid “wasting” a perfectly delicious tomato, I advise waiting for your tomatoes to ripen on the vine or ripening them indoors first.)
While everything is brewing, loosely cover the jar with a lid and completely cover the seeds with at least an inch of dechlorinated (or filtered) water.
Do not tightly close the jar to allow the fermentation gases to escape.
After a day or two (depending on your ambient room temperature; warmer temperatures speed up the Fermentation), a frothy white film will form on the water’s surface, with a faintly sour, yoghurt-like scent.
The innocuous Kahm yeast, a common sign of lacto-fermentation in operation, is the cause of the hazy white film; it is not mould.
Even if it doesn’t seem like much is happening, it could also portend new seedlings and the salsa you can ferment the following year.
Once the white coating completely covers the surface, which should happen in another day or two, it is time to remove all the dirt.
Quickly pour off the top layer of the water, which contains the bad seeds and frothy material, to ensure that only your excellent seeds are sunk in the bottom.
Rinse the seeds in a fine-mesh strainer under running water, just like you always would. To remove any sticky residue, gently but firmly brush the seeds on the mesh.
Spread the seeds on a paper towel and pat them down to absorb most moisture. Then, move them to a non-porous surface, such as a small plate, to finish drying.
After a few days, place the dried seeds in a dry, dark, and superb location in a labelled and dated envelope. Now is the time to plant your seeds!
Do you want to save more herb and vegetable seeds from your garden? See my advice for beginners on how to store and preserve seeds.