Growing garlic at home is a rewarding experience and a simple way to enjoy fresh, organic cloves from your garlic garden. Whether you’re a seasoned gardener or just starting, learning how to grow garlic is essential for anyone looking to enhance their kitchen with homegrown ingredients. Garlic is a hardy crop that thrives in most climates, offering a robust flavor and a range of health benefits. By following the right steps in planting, caring, and harvesting, you can easily cultivate a successful garlic crop.
In this guide, we will walk you through how to grow garlic from a clove, selecting the right variety to plant at the right time, caring for your plants throughout the season, and finally, knowing when and how to harvest for the best results. With these planting, caring, and harvesting tips, you’ll be on your way to growing a plentiful garlic crop that will enhance your cooking and provide year-round enjoyment.
Why Grow Garlic at Home?
Growing garlic at home offers numerous advantages beyond the simple joy of garlic garden. One of the biggest benefits is the unparalleled freshness. Homegrown garlic delivers a more intense flavor than store-bought varieties, which are often harvested months in advance and lose some of their potency during storage. When you grow garlic yourself, you can enjoy its crisp, robust taste immediately after harvesting, enhancing the flavor of your dishes like never before.
Another key advantage is the ability to control what goes into your planting seed garlic. By growing it at home, you can avoid harmful chemicals and pesticides, ensuring your garlic is 100% organic. This results in a healthier crop and provides peace of mind, knowing you’re not consuming any unwanted additives. Additionally, homegrown garlic gives you access to a year-round supply. With proper storage techniques, your garlic can last for months, meaning you won’t need to rely on store runs when cooking.
Garlic is also known for its remarkable health benefits. It’s packed with antioxidants, vitamins, and compounds like allicin, which can help boost your immune system, reduce blood pressure, and improve heart health. Whether you’re growing garlic for its culinary use or health-enhancing properties, it’s a versatile addition to any home garden Growing Jerusalem Artichokes.
Choosing the Right Garlic Varieties
Selecting the right variety is crucial for a successful harvest when growing garlic. Garlic is generally divided into two main types: hardneck and softneck. Understanding the differences between these varieties will help you decide which is best suited for your climate and gardening needs.
Planting seed garlic varieties thrive in colder climates and are known for producing a central flower stalk called a “scape,” which can also be harvested and used in cooking. These types tend to have fewer cloves per bulb but are larger and easier to peel. Hardneck garlic also offers a more robust flavor, making it a favorite among enthusiasts. However, it has a shorter shelf life compared to softneck varieties. A great hard neck variety for beginners is ‘Chesnok Red,’ known for its strong flavor and ease of growth in cold climates.
On the other hand, softneck garlic varieties are better suited for warmer climates. They do not produce a central scape and typically have more cloves per bulb, although they are smaller and harder to peel. Softneck garlic stores for much longer, sometimes up to a year, making it a practical choice for home growers who want a steady supply. ‘California Early’ is a popular softneck variety for beginners, offering a mild flavor and high yield, perfect for those new to garlic growing.
You can ensure a productive and flavorful harvest by choosing the right garlic variety based on your climate and preferences. Whether you opt for a hard or soft neck, both types benefit your garden and kitchen.
When to Plant Garlic
For most regions, the ideal time to plant garlic is in the fall, typically 4-6 weeks before the ground freezes. In warmer climates, where winters are mild, garlic can be planted in early spring. Fall planting allows grow a garlic clove to establish roots before winter, leading to larger bulbs at harvest.
Selecting the Right Location
Garlic thrives in locations with well-draining soil and plenty of sunlight. Choose a spot in your garden that receives 6-8 hours of direct sunlight each day. Avoid standing water or heavy clay soil areas, as garlic prefers drier conditions.
Soil Preparation
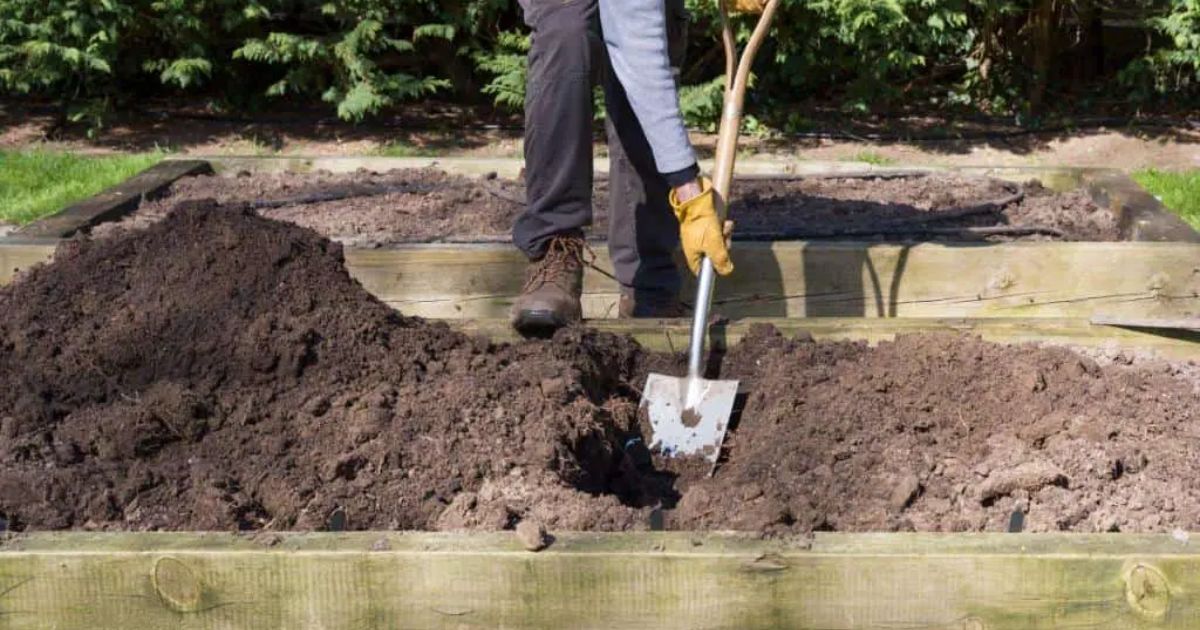
Garlic grows best in loamy, nutrient-rich soil. Before planting, loosen the soil to a 6-8 inches depth and mix in compost to improve fertility and drainage. The ideal soil pH for garlic is between 6.0 and 7.0. Conduct a soil test if necessary, and amend the soil to ensure it’s slightly acidic to neutral.
Tools and Materials Needed
- Shovel or garden trowel for digging planting holes
- Compost to enrich the soil
- Mulch (such as straw or leaves) to protect the garlic through the winter
- Gloves for handling the cloves and working in the soil
Step-by-Step Guide on How to Plant Garlic
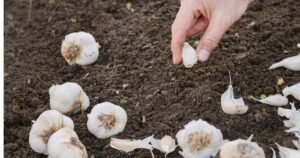
- Breaking Garlic Bulbs into Cloves: Start by gently separating the garlic bulb into individual cloves. Be careful not to damage them during this process. Choose the largest, healthiest-looking cloves for planting, as they will produce the biggest bulbs. The smaller cloves can be used for cooking or discarded, as they may result in smaller, less vigorous plants.
- Spacing and Depth: Once your cloves are ready, dig holes or small trenches in your prepared soil. Space the cloves about 6 inches apart to give each plant enough room to grow. Plant the cloves 2 inches deep, making sure they are covered with soil. Rows should be spaced 12-18 inches apart.
- Orientation: When planting, ensure the pointed end of each clove is facing upwards. This is where the garlic shoot will emerge. The flat basal plate (the part that was attached to the bulb) should be at the bottom.
- Watering After Planting: After planting, water the area thoroughly to help the cloves establish roots. However, avoid overwatering, as garlic prefers well-drained soil and doesn’t tolerate soggy conditions. Once the ground begins to freeze, apply a layer of mulch to protect the garlic through the winter months How to Prevent Tomato Catfacing.
Caring for Garlic Plant Seedling
- Watering Requirements: Garlic needs regular but moderate watering, especially during dry spells. Aim to keep the soil evenly moist, but avoid waterlogging, which can lead to root rot. Water deeply once or twice a week, depending on rainfall, but ensure the top 1-2 inches of soil dry out between watering sessions. As harvest time approaches, reduce watering to prevent overly wet bulbs.
- Mulching: Mulching is essential for garlic plant seedling, as it helps retain moisture, suppress weeds, and regulate soil temperature. Apply a thick layer of organic mulch, such as straw or leaves, right after planting. In colder regions, this also provides protection during the winter months, preventing frost heave and giving the bulbs insulation.
- Fertilizing: Garlic is a heavy feeder and benefits from organic fertilizers to boost growth. Apply compost or a balanced NPK fertilizer (such as 10-10-10) every few weeks to ensure the plants get the necessary nutrients. Focus on nitrogen-rich fertilizers early in the growing season to promote leaf and root growth, then reduce fertilization as the bulbs mature.
- Weeding: Keep the garlic bed free from weeds, as they can compete with garlic plants for nutrients, water, and sunlight. Regularly pull weeds by hand or use a hoe to avoid disturbing the garlic roots. Mulching also helps reduce weed growth.
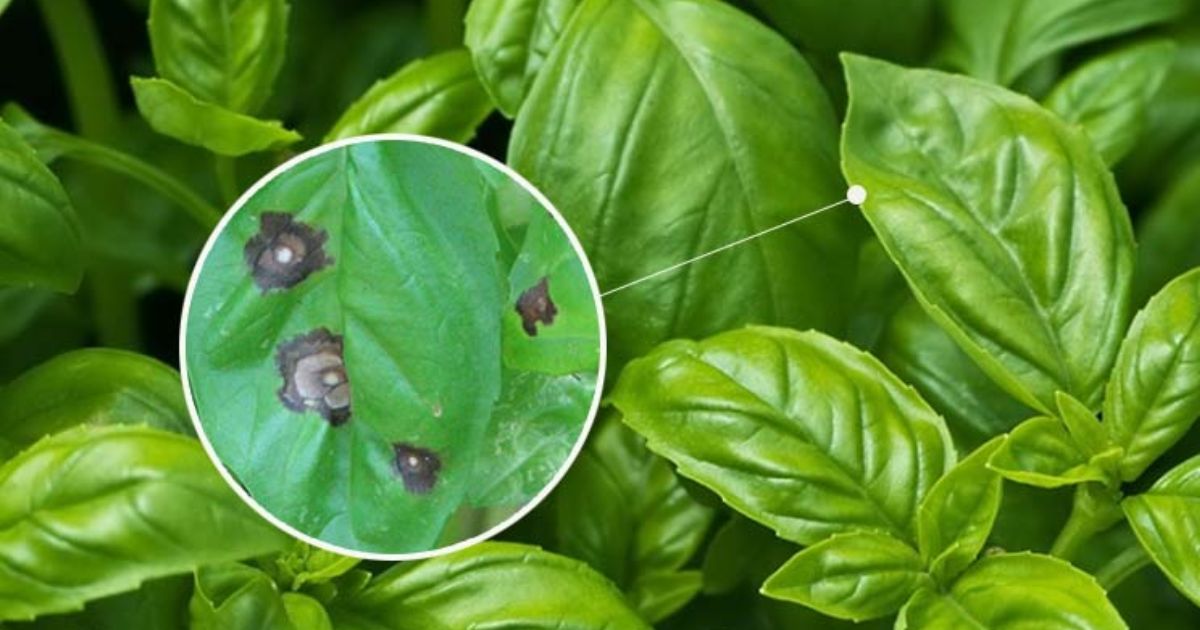
- Pest and Disease Prevention: Garlic can be affected by pests like nematodes, onion flies, and aphids, as well as diseases like white rot and downy mildew. To prevent these issues, practice crop rotation by avoiding planting garlic cloves in the same spot for consecutive years. Use organic treatments such as neem oil to control insect pests and ensure proper air circulation to reduce fungal diseases. Inspect your plants regularly, and promptly remove any diseased or infested plants to prevent spread.
When and How to Harvest Garlic
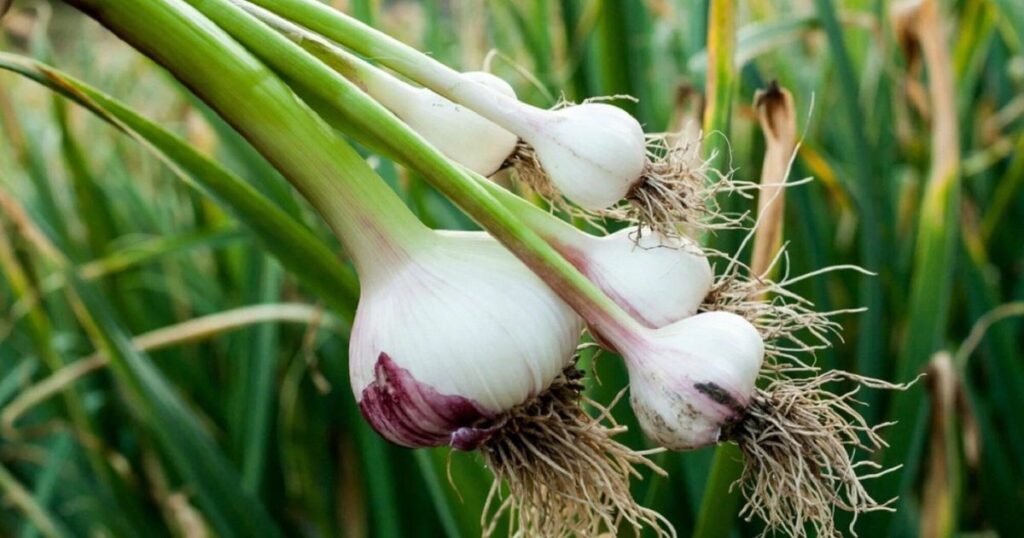
Garlic is typically ready to harvest in late spring or early summer once the lower leaves begin to yellow and die back, while the upper leaves remain green. This is a key sign that the bulbs have matured. To harvest:
- Gently loosen the soil around the bulbs using a garden fork or trowel, being careful not to damage them.
- Pull the garlic bulbs out by hand, grasping the base of the plant.
- After harvesting, cure the garlic by laying the bulbs in a shaded, well-ventilated area for 2-3 weeks.
This drying process enhances the garlic’s flavor and prepares it for long-term storage. Once cured, trim the roots and leaves and store the bulbs in a cool, dry place.
Storing and Using Your Homegrown Garlic
Once your garlic is cured, proper storage is essential to extend its shelf life. Store garlic in a cool, dry place like a pantry, cellar, or kitchen cupboard with good air circulation. Avoid storing garlic in the refrigerator, as the cold can cause sprouting. Garlic stored in the right conditions can last for several months.
There are countless ways to use your fresh garlic. It adds bold flavor to various dishes like soups, sauces, stir-fries, and roasted vegetables. You can also dehydrate garlic and grind it into garlic powder for a convenient seasoning option. Additionally, garlic has medicinal properties, known for boosting immunity and supporting heart health, so it can be used in natural remedies like garlic tea or consumed raw for its health benefits.
Conclusion
how to grow garlic is a rewarding and straightforward process. From planting garlic zone 5 healthy cloves in well-prepared soil to providing regular care through watering, mulching, and weeding, you can cultivate strong, flavorful garlic bulbs in your garden. Once the leaves are yellow and the bulbs are ready, careful harvesting and proper curing will ensure a long-lasting supply of fresh garlic. Storing your garlic correctly allows you to enjoy its many culinary and health benefits for months.
Now that you know the basics, why not start your own garlic-growing journey? With a little patience and attention, you’ll soon enjoy fresh, homegrown garlic in your favorite recipes. Start growing garlic from sprouting cloves today and bring fresh, flavorful bulbs into your kitchen!
FAQs:
1. When is the best time to plant garlic?
The best time to plant garlic is in the fall, about 4-6 weeks before the ground freezes. In warmer climates, garlic can also be planted in early spring.
2. What type of soil is best for growing garlic?
Garlic thrives in well-draining, loamy soil with plenty of organic matter. It prefers slightly acidic to neutral soil with a pH between 6.0 and 7.0.
3. How deep should I plant garlic cloves?
Plant grow a garlic clove about 2 inches deep, with the pointed end facing up. Space them 6 inches apart in 12-18 inches apart rows.
4. How often should I water garlic?
Garlic requires moderate watering. Keep the soil evenly moist, especially during dry spells, but avoid waterlogging, as garlic does not tolerate soggy conditions.

